
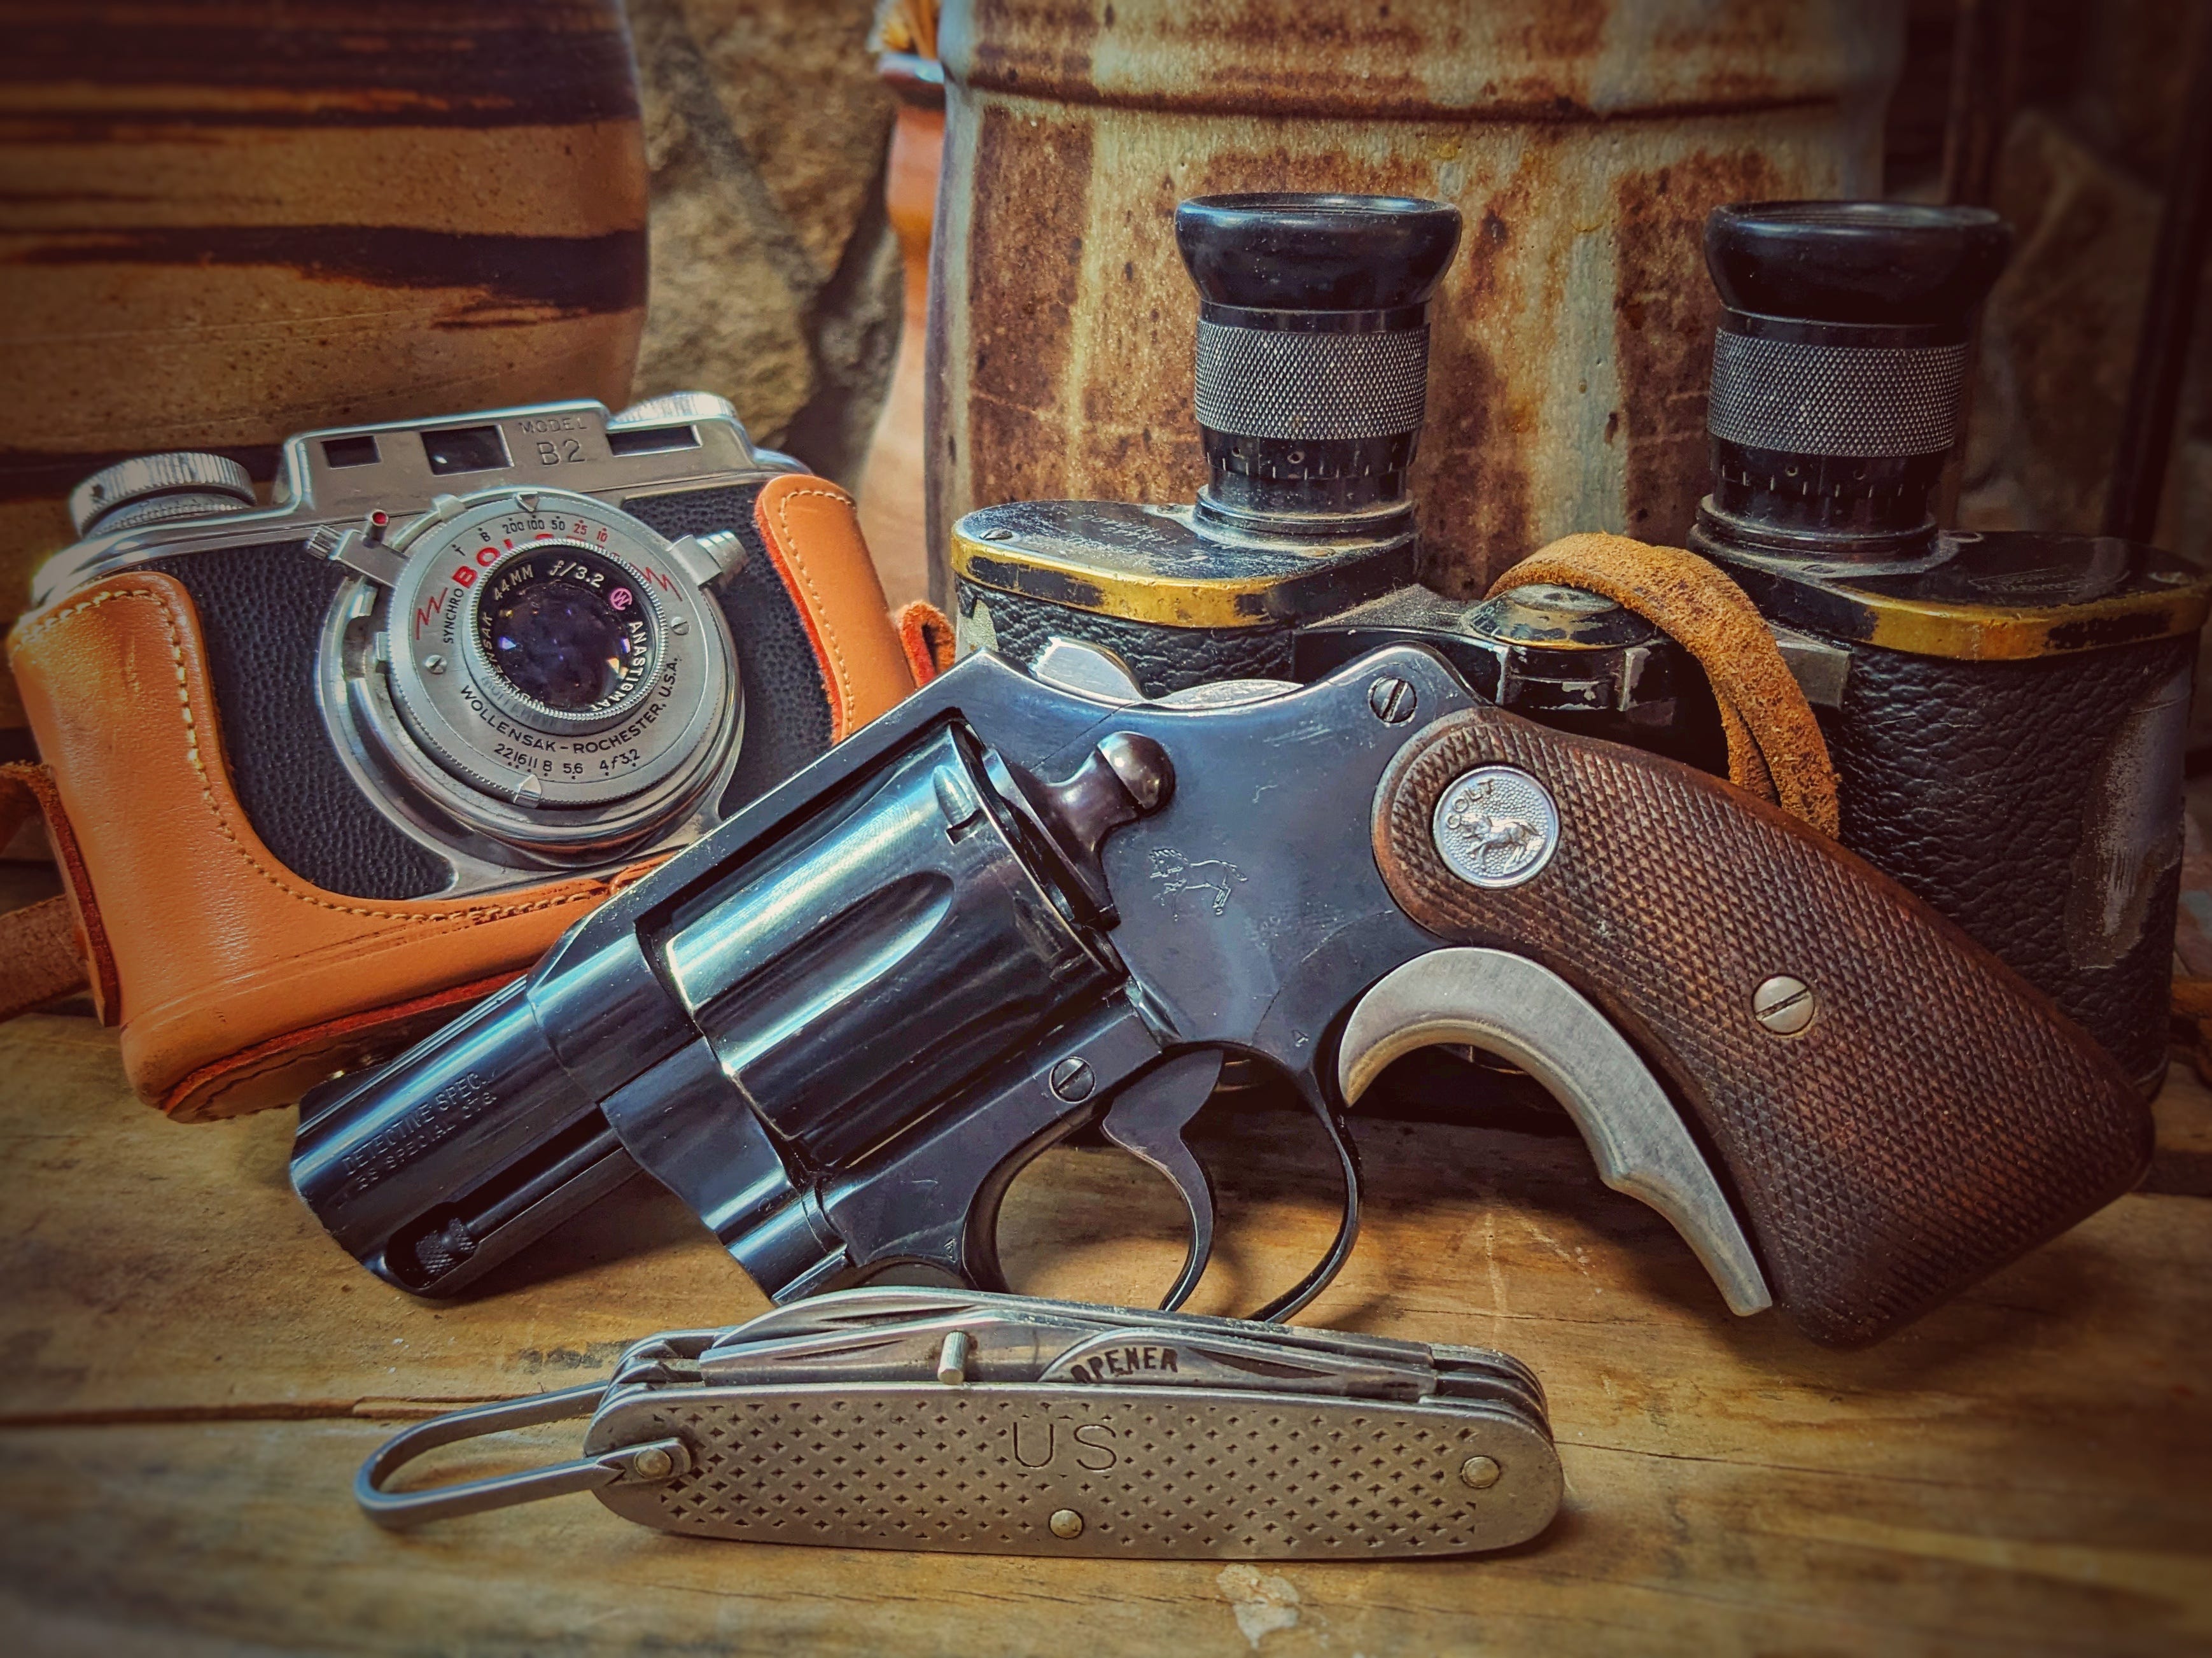
Colt Detective Special
Practical Upgrades for a Classic Revolver.

There was a time when revolvers ruled the roost as far as police work went. Even though semi-automatics existed, most police work was conducted with revolvers right up into the 1970s and 1980s. That’s when things began to change gradually. Why did revolvers remain popular among law enforcement for so long? I have no idea; I’ve always loved revolvers, so I wouldn’t have needed any convincing to carry one. Indeed, reliability was an issue. Most semi-autos are reliable to a fault today, but that wasn’t always the case. It would be much better to have six rounds of certainty than 8-13 rounds (mag capacities of the time) of jammed-up mess. I have also heard that some people say a revolver was viewed as a more “friendly” weapon and looked better on the hip of a public servant. This could be true, considering that most semi-automatic weapons of the time were carried in the cocked and locked position, whereas a revolver is carried with the hammer down. Maybe some of my more seasoned LEO readers could chime in on that one. This is the story of one of those classic revolvers.
A customer of mine sent me a Colt Detective Special 4th gen. This revolver was made in the late 70s and would have been the last holdout in an era that was slowly fading away. The name wasn’t just to sell guns either; the Detective Special was designed for detectives, or anyone not on the front lines of law enforcement. With a design inspired by the work of famed police shooting instructor John Fitzgerald, the Detective Special is a six-shot, small-frame revolver featuring a two-inch barrel, designed to be lightweight and quick to draw. Commonly called a snub-nose revolver, or snubbie, they can still be found tucked away on many law enforcement personnel as a secondary firearm in case the primary is lost or disabled. The particular gun sent to me was not a stellar example; it was a little rough and of lesser collectability. This later generation had a shallow ramp front sight and a shrouded ejector rod. These are certainly design improvements over the original models, but they are not the features the collectors want. This all makes a perfect gun for modification, and some slight enhancements can turn this compact handgun into a concealed weapon masterpiece. Let’s get started.

In The Shop
Every job that comes into my shop begins with a thorough teardown and cleaning. This gun was quite clean for its age. I started with an action job. Colts are much more complex than Smith & Wesson revolvers; that being said, they were also very well made with a lot of hand fitting. In the case of a Colt, I can’t install lighter springs like I can in a Smith, since Colts use a single flat spring to run everything, whereas Smiths use several coil springs. There are no aftermarket spring kits for a Colt that I know of. The flat spring could be lightened by making it narrower, but that would ultimately impact its service life, and in the case of a defensive gun, I feel the risk is not worth the reward. I polished everything with a mating surface; the result was a smooth double-action trigger pull that dropped from 10 to 9 pounds. I also mirror-polished the trigger; this does nothing for the action, but it does help the shooter when running the gun in double-action mode. If you have never compared the double-action on a Colt to that of a Smith, then I suggest you try it. They are quite distinct from one another. The Colt has considerably less stack for a consistent straight back pull. I still prefer the Smith action, but that probably has a lot more to do with familiarity than anything else.
Another area in which the Colt excels over the snub-nose Smith is extractor length. The extractor on the Colt is significantly longer, providing more positive shell extraction. This is because Colt does not use the extractor as a lockup point, unlike Smith. Smith has recently begun moving the lockup point to the crane of the gun on its larger frames. This is a better setup, and I’m waiting for that technology to be introduced to the snubbies so that ejector rods can be lengthened.
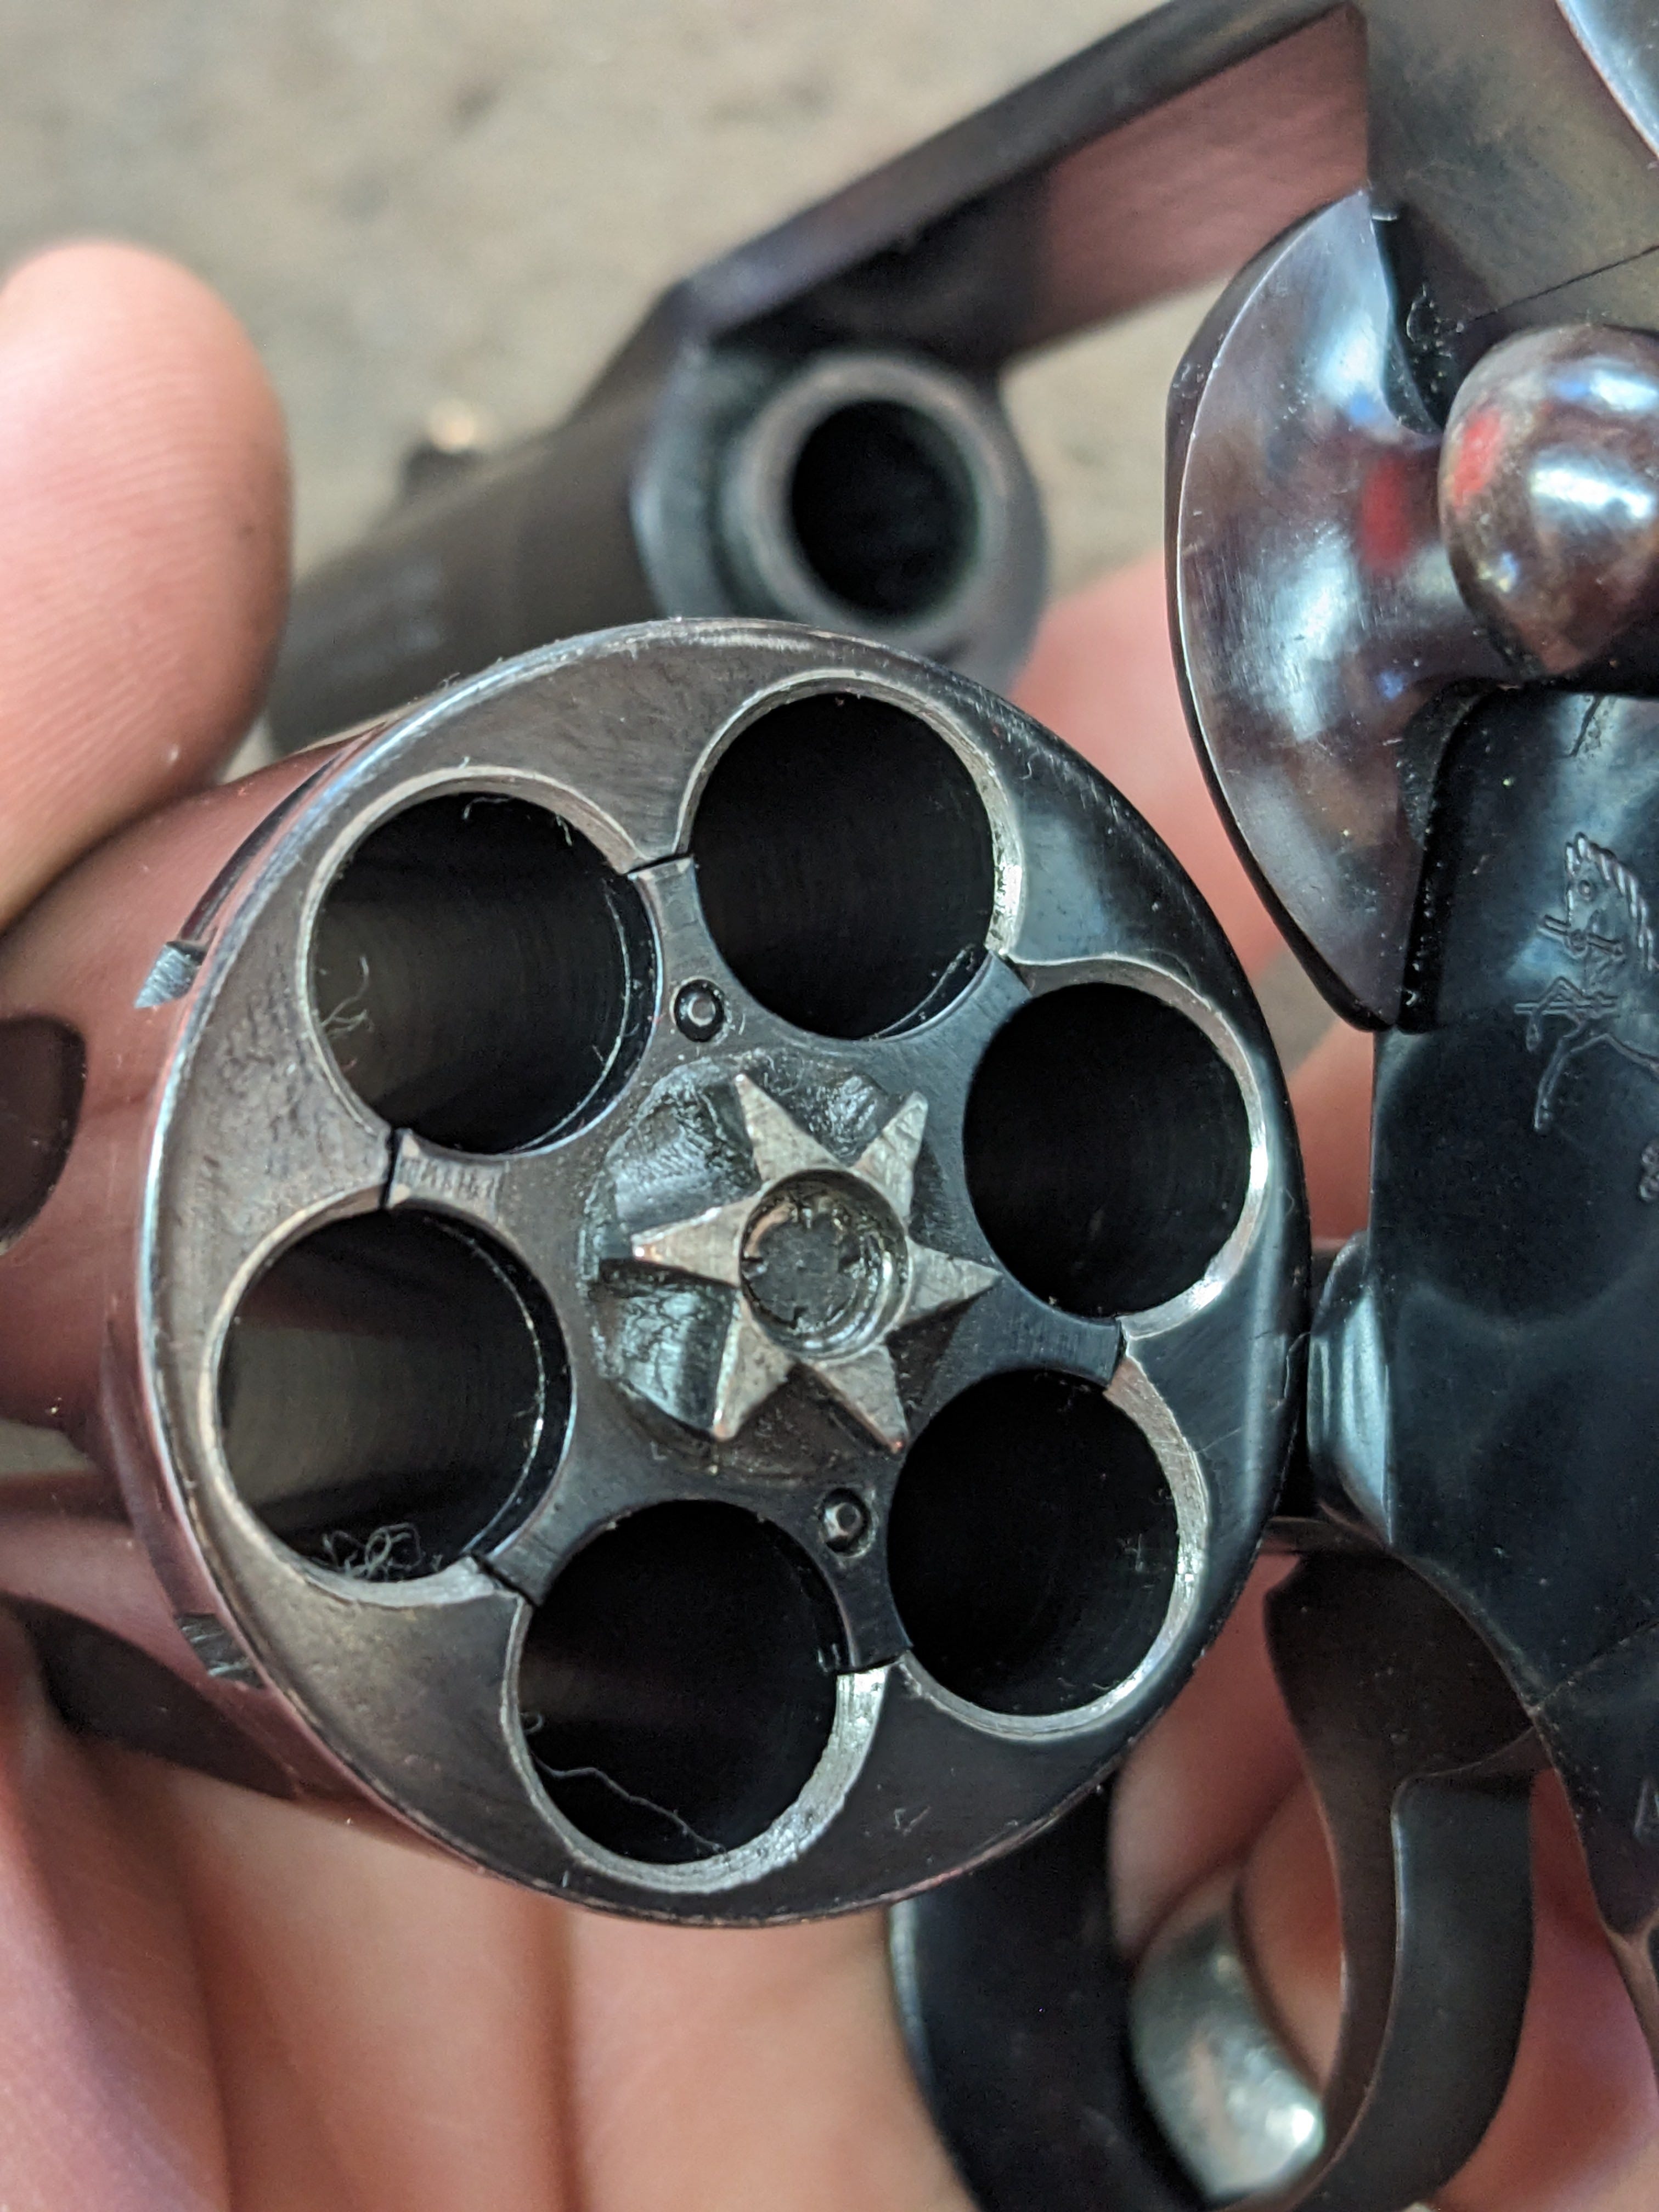
The next job my customer requested was chamfered charge holes. This modification facilitates reloading the gun, making it significantly easier to insert a speed loader into the weapon. I have seen this modification done improperly many times. Just the cylinder should be chamfered, not the extractor star. Chamfering the extractor star increases the likelihood of the extractor slipping past a shell and jamming the gun. Not something we want to risk on a defensive weapon.
Moving on to the back of the gun, I bobbed the hammer and finished off the rear with a mirror finish. This modification prevents snagging when pulling the gun out from pockets or under clothes. John Fitzgerald was the first to employ this modification that I know of; he certainly became known for it.
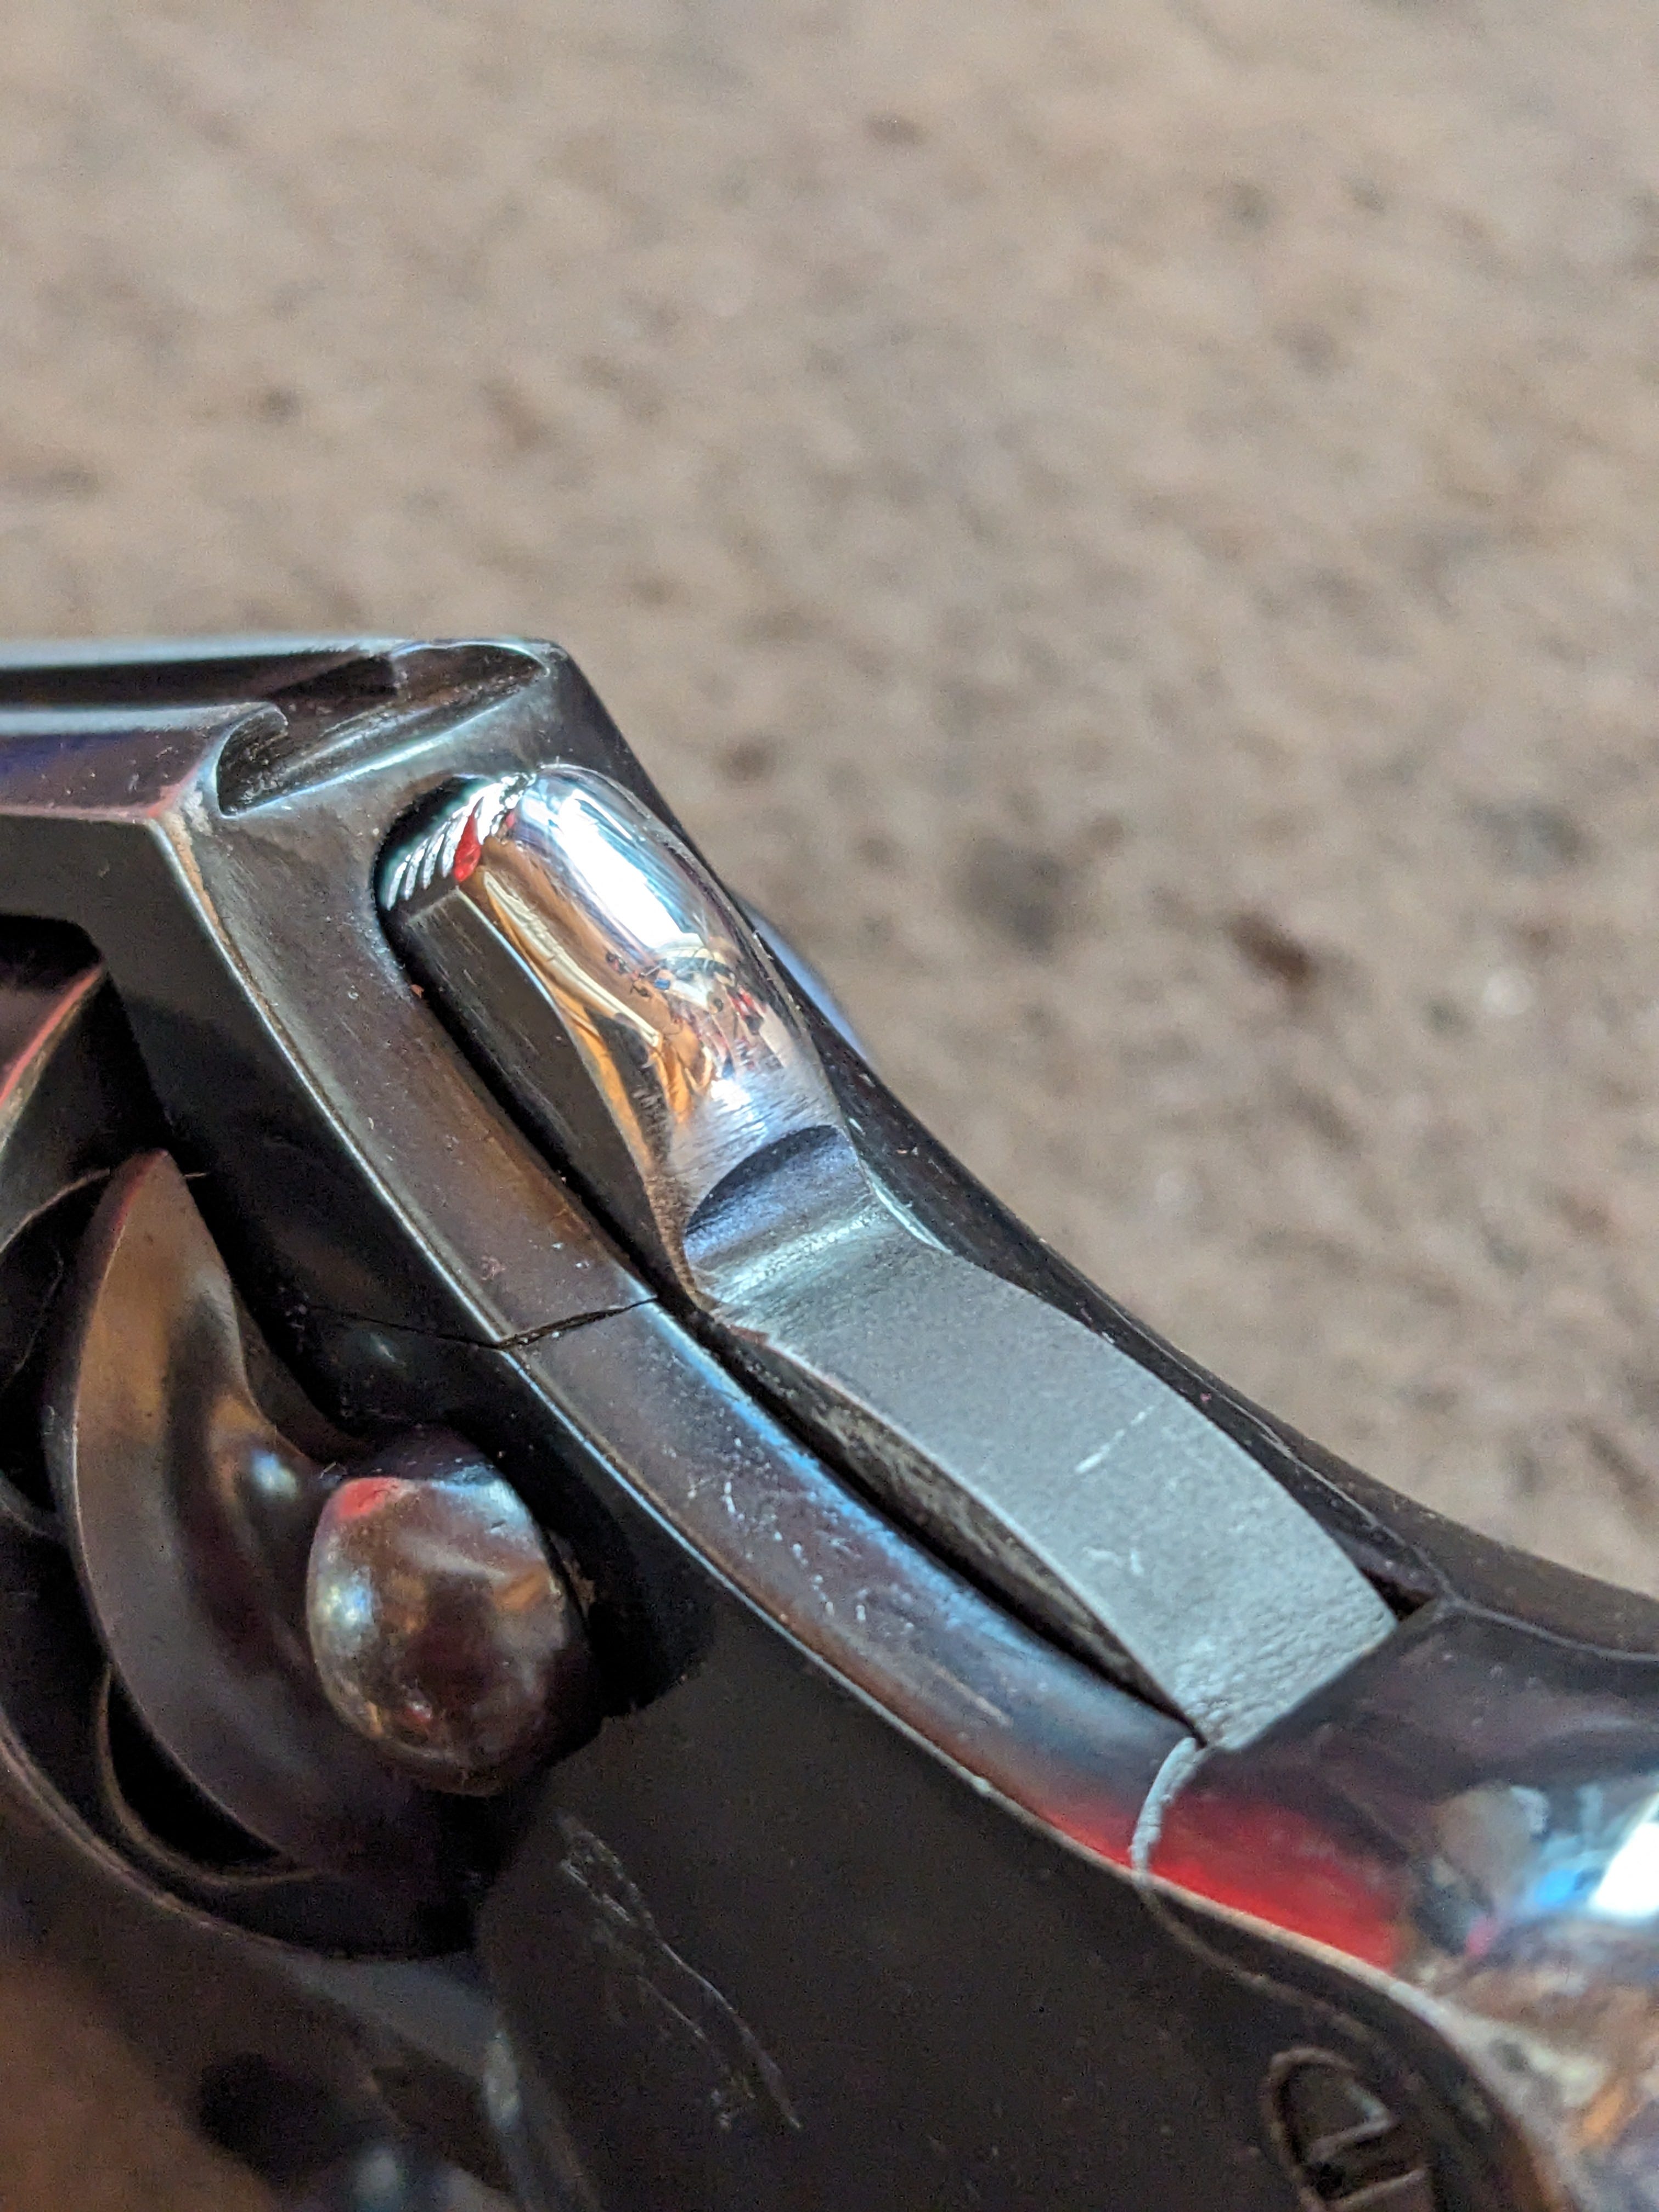
I also serrated or “jimped” the top of the hammer so that the gun can still be fired in single action mode. There is some argument as to whether a combat revolver should even be able to be fired in single-action mode. The argument is that a cocked revolver in a defensive situation is just asking for a nervous misfire. Indeed, that is a possibility, but in my case, I like to retain the ability. I build high-quality, accurate guns, and if I have the need to take down a bad guy at 25 yards or more, I like to know that I can run my gun in single-action mode. I don’t know about my customer, but for me, the gun I carry every day also serves as a trail gun, dispatching cottontails and various other vermin. In those situations, I appreciate the extra accuracy that single-action provides. If for no other reason, it’s good for testing ammo accuracy from the bench.
The final modification that was requested was a brass bead front sight—a classic choice for a classic revolver that is immensely practical. I chose to modify the sight shape to both enhance the appearance of the gun and improve the sight picture. I began by filing the rear of the sight ramp down to the level of the barrel. This allowed me to increase the angle of the front sight and serrate the flat surface with a checkering file.
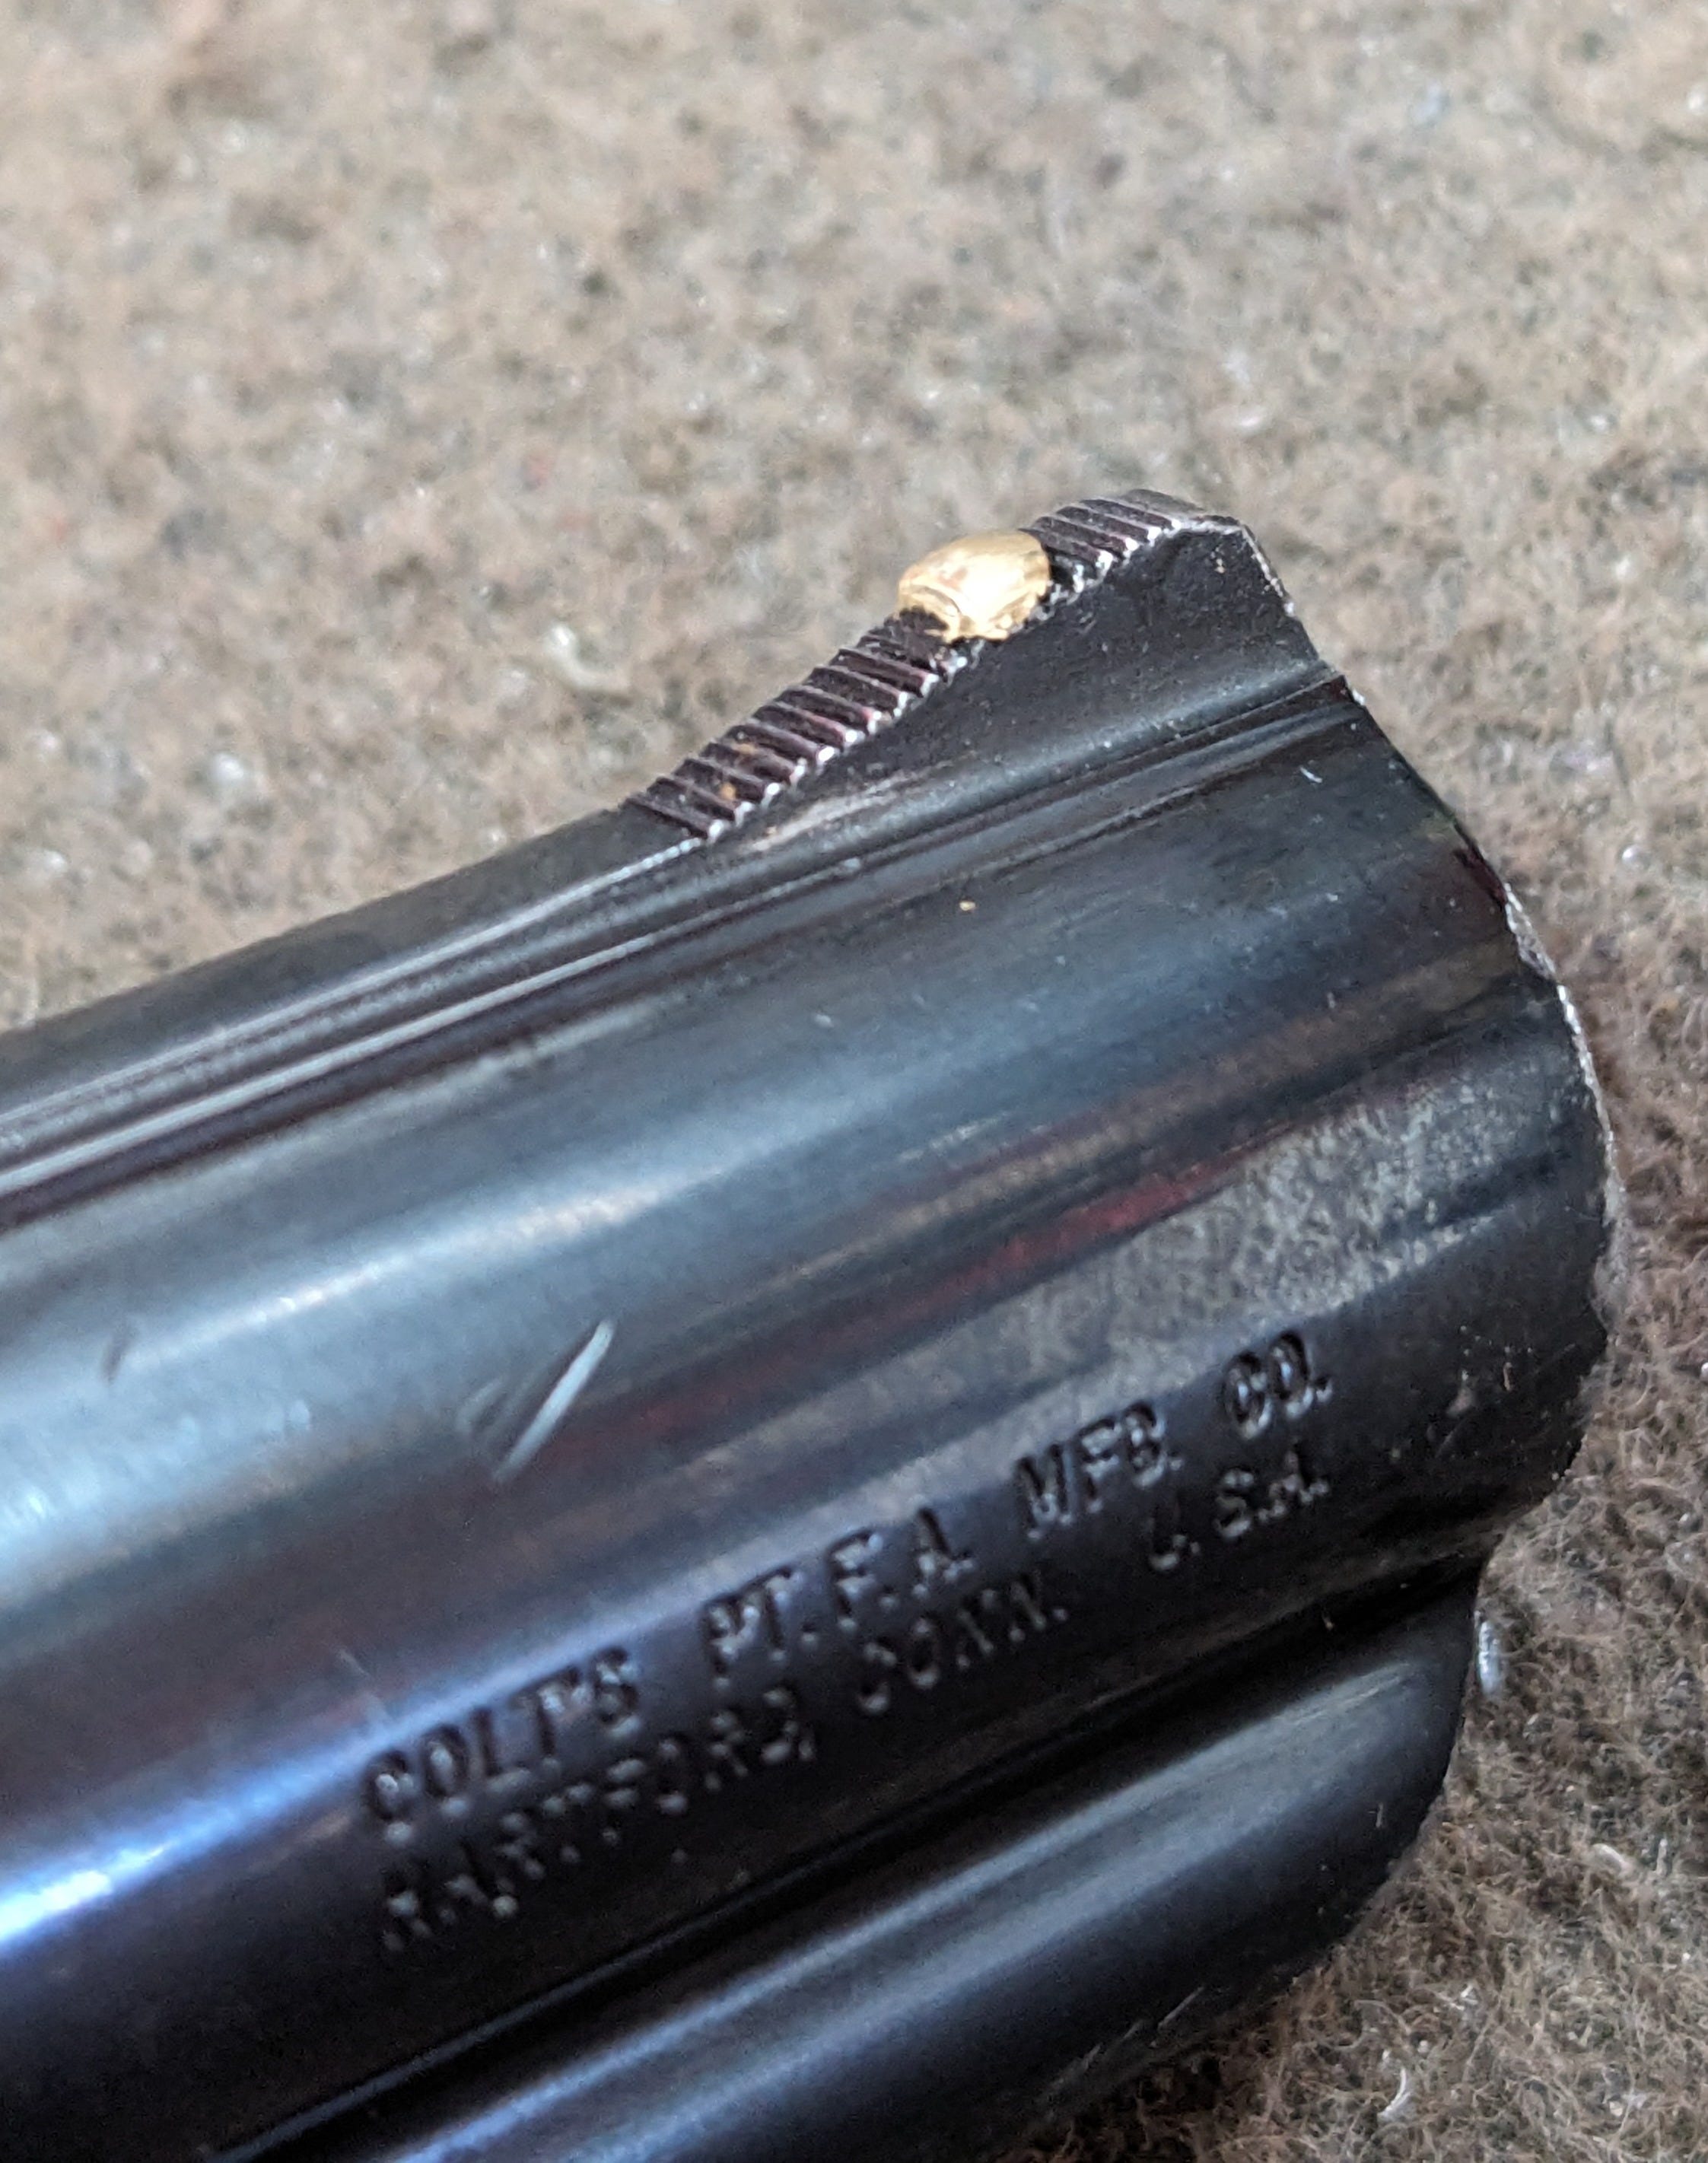
This will reflect light far less than the original ramp angle, making the black part of the sight appear even darker when viewed from the rear. I then drilled a hole near the top for a brass bead. Because of the angle of the sight, I couldn’t mount a bead in the traditional way. Oftentimes, a brass bead sits just below the top of the sight. In this case, I mounted the bead and riveted it into a mound, shaping it to correspond with the top of the sight. When viewed from the rear of the gun, it looks more like a brass bar at the peak of the sight rather than a dot below the surface.
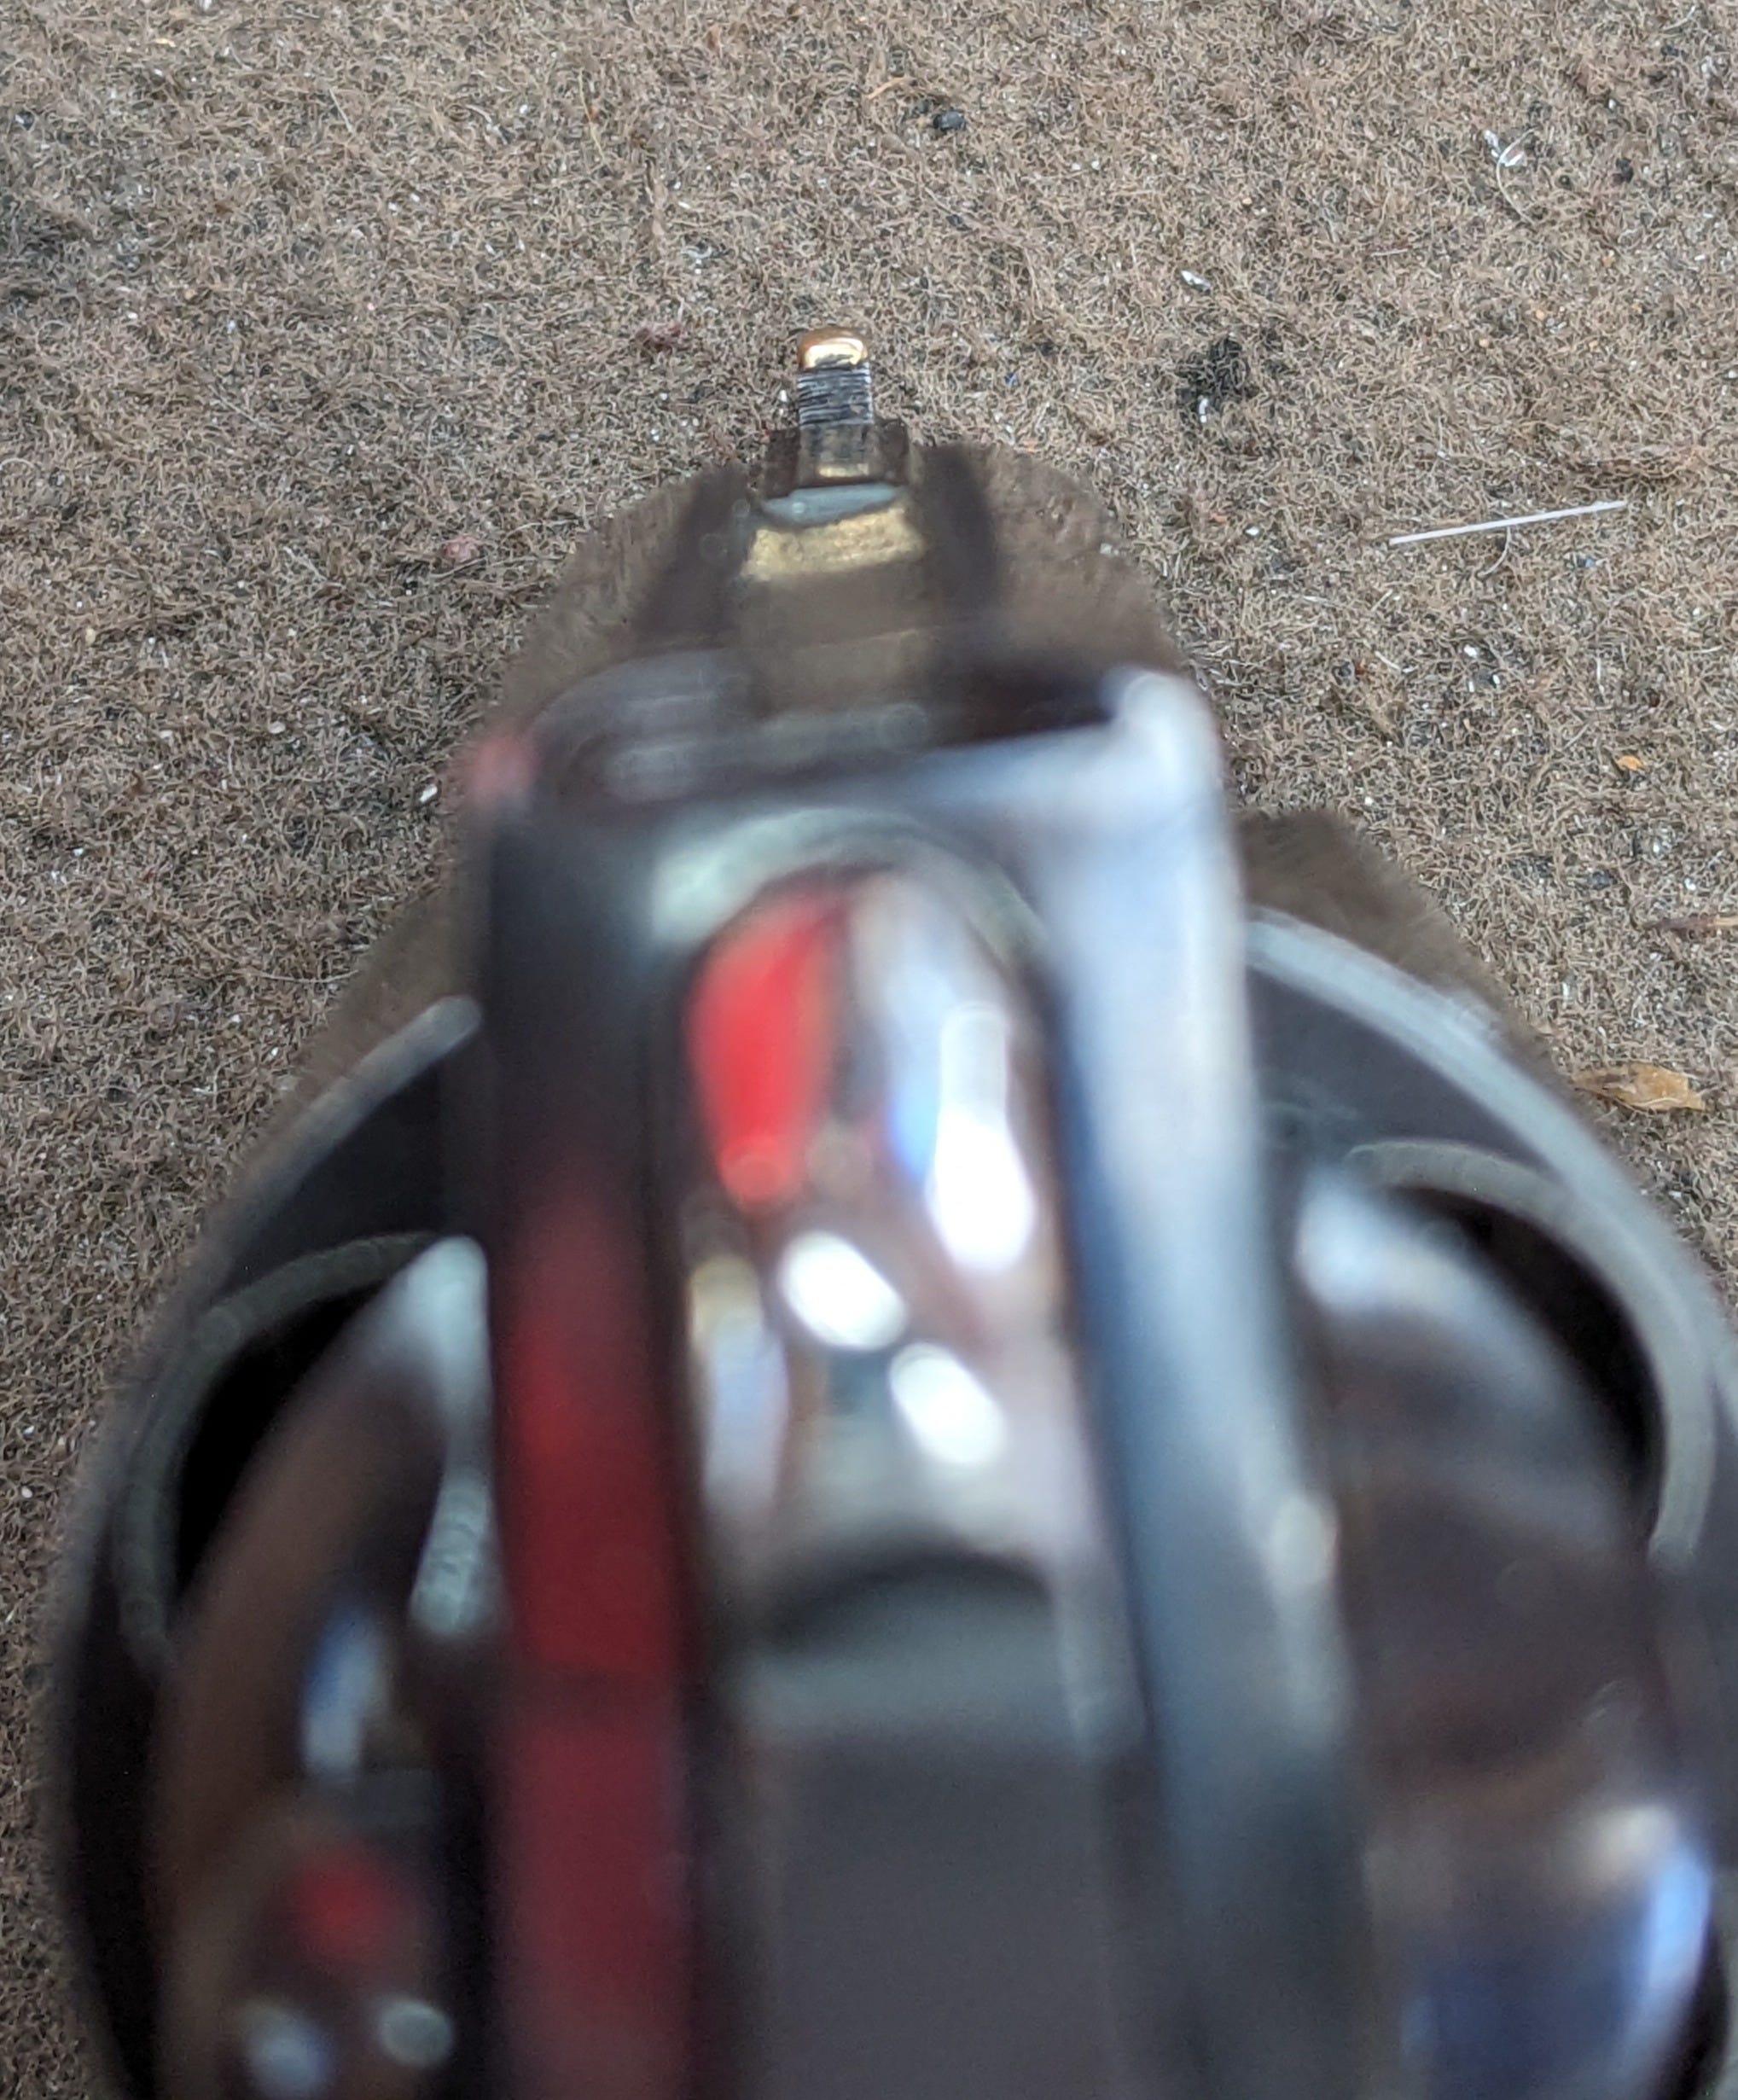
It reflects light like a laser beam, and I couldn’t be happier with how this modification turned out. If I ever pick up a Colt of this generation, this will be the first thing I do.
Shooting.
Whenever I modify a gun, I always shoot it to ensure I haven’t missed anything. Rule number one of gunsmithing is, “don’t make the gun worse.” Nothing to fear on this gun, it ran smooth as silk, and the sight was directly on target. You will see that my handloads are running about an inch and a half to the left, but this is at 25 yards, which is perfectly acceptable for a man stopper.
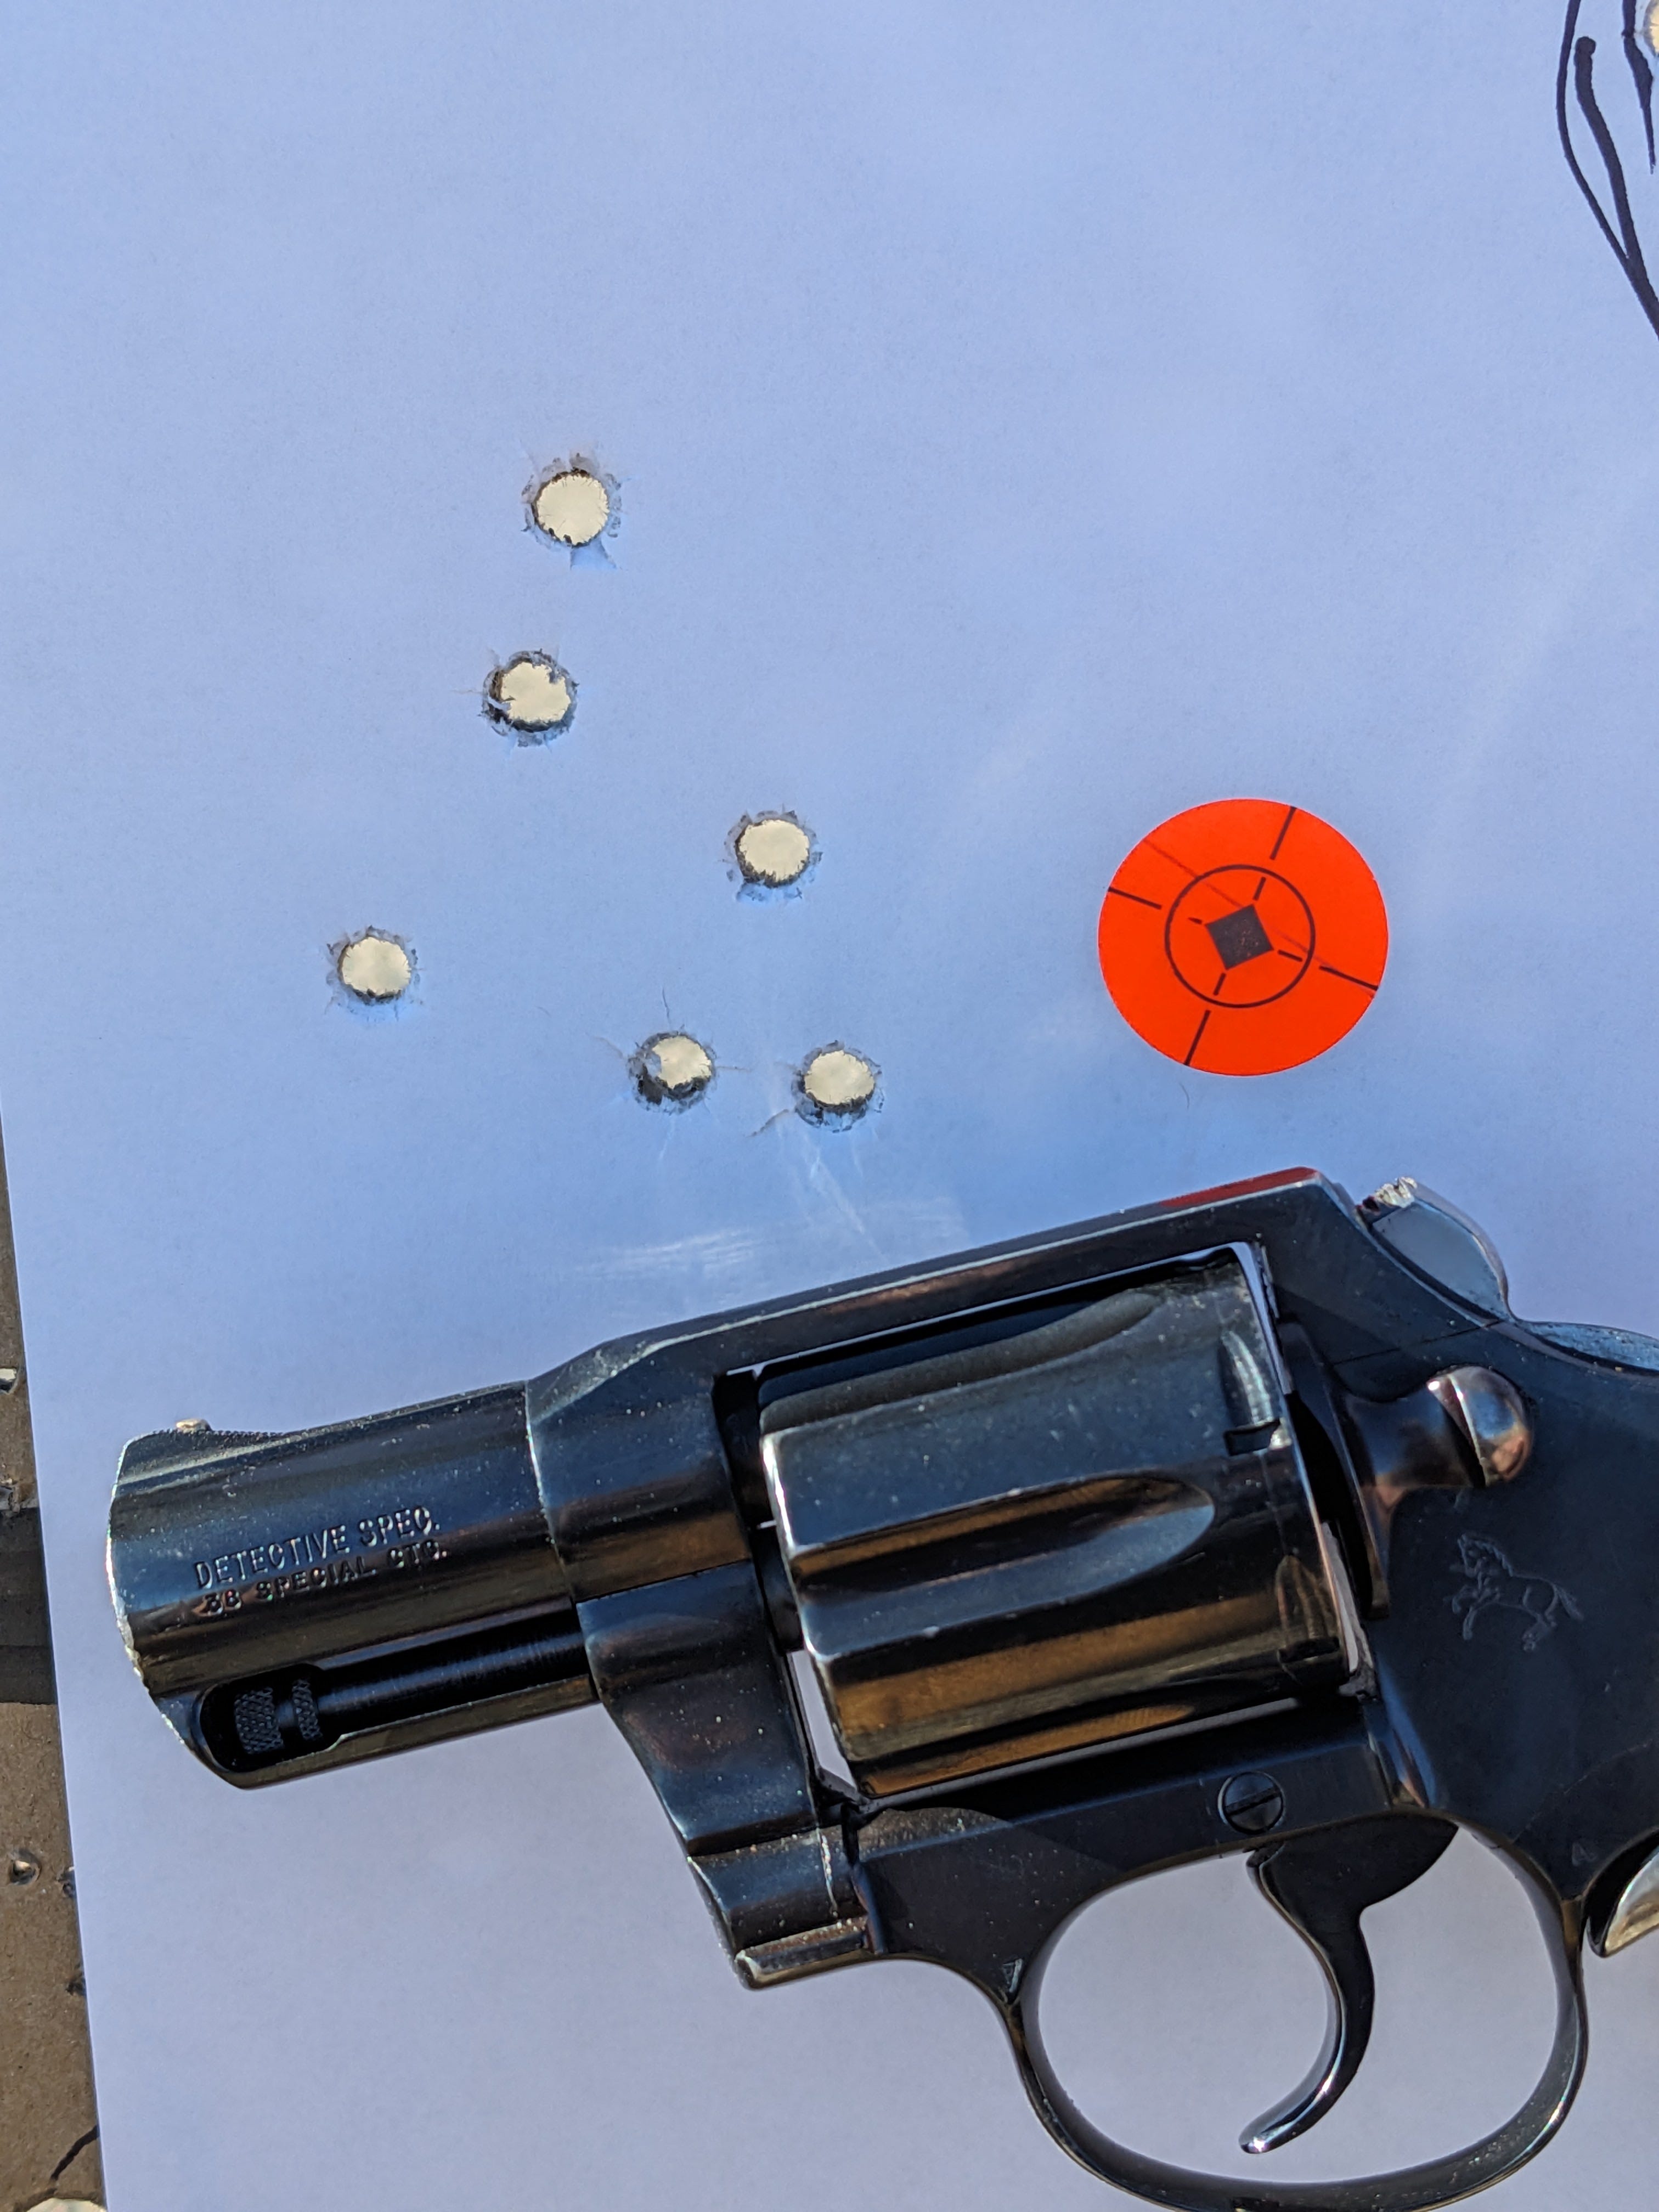
This gun has been transformed into a practical tool that any 1970s detective would have been proud of.
To my customer Red: I love the way this gun turned out, and I hope you do as well. It should serve you for many years to come. It is a weapon of distinction and class that few modern firearms manage to muster. Enjoy!
That front sight modification is outstanding. I may need to see about getting one like that.
Thanks for sharing this in our Gunsmith group on FB!