
1911 Rework: Part 2
Teaching an Old Dog New Tricks

If you are interested in my previous articles, consider buying my book in either Kindle or print form. You can find my book at the link below. Every purchase and positive review helps me to keep providing this content for free. Thanks for reading.
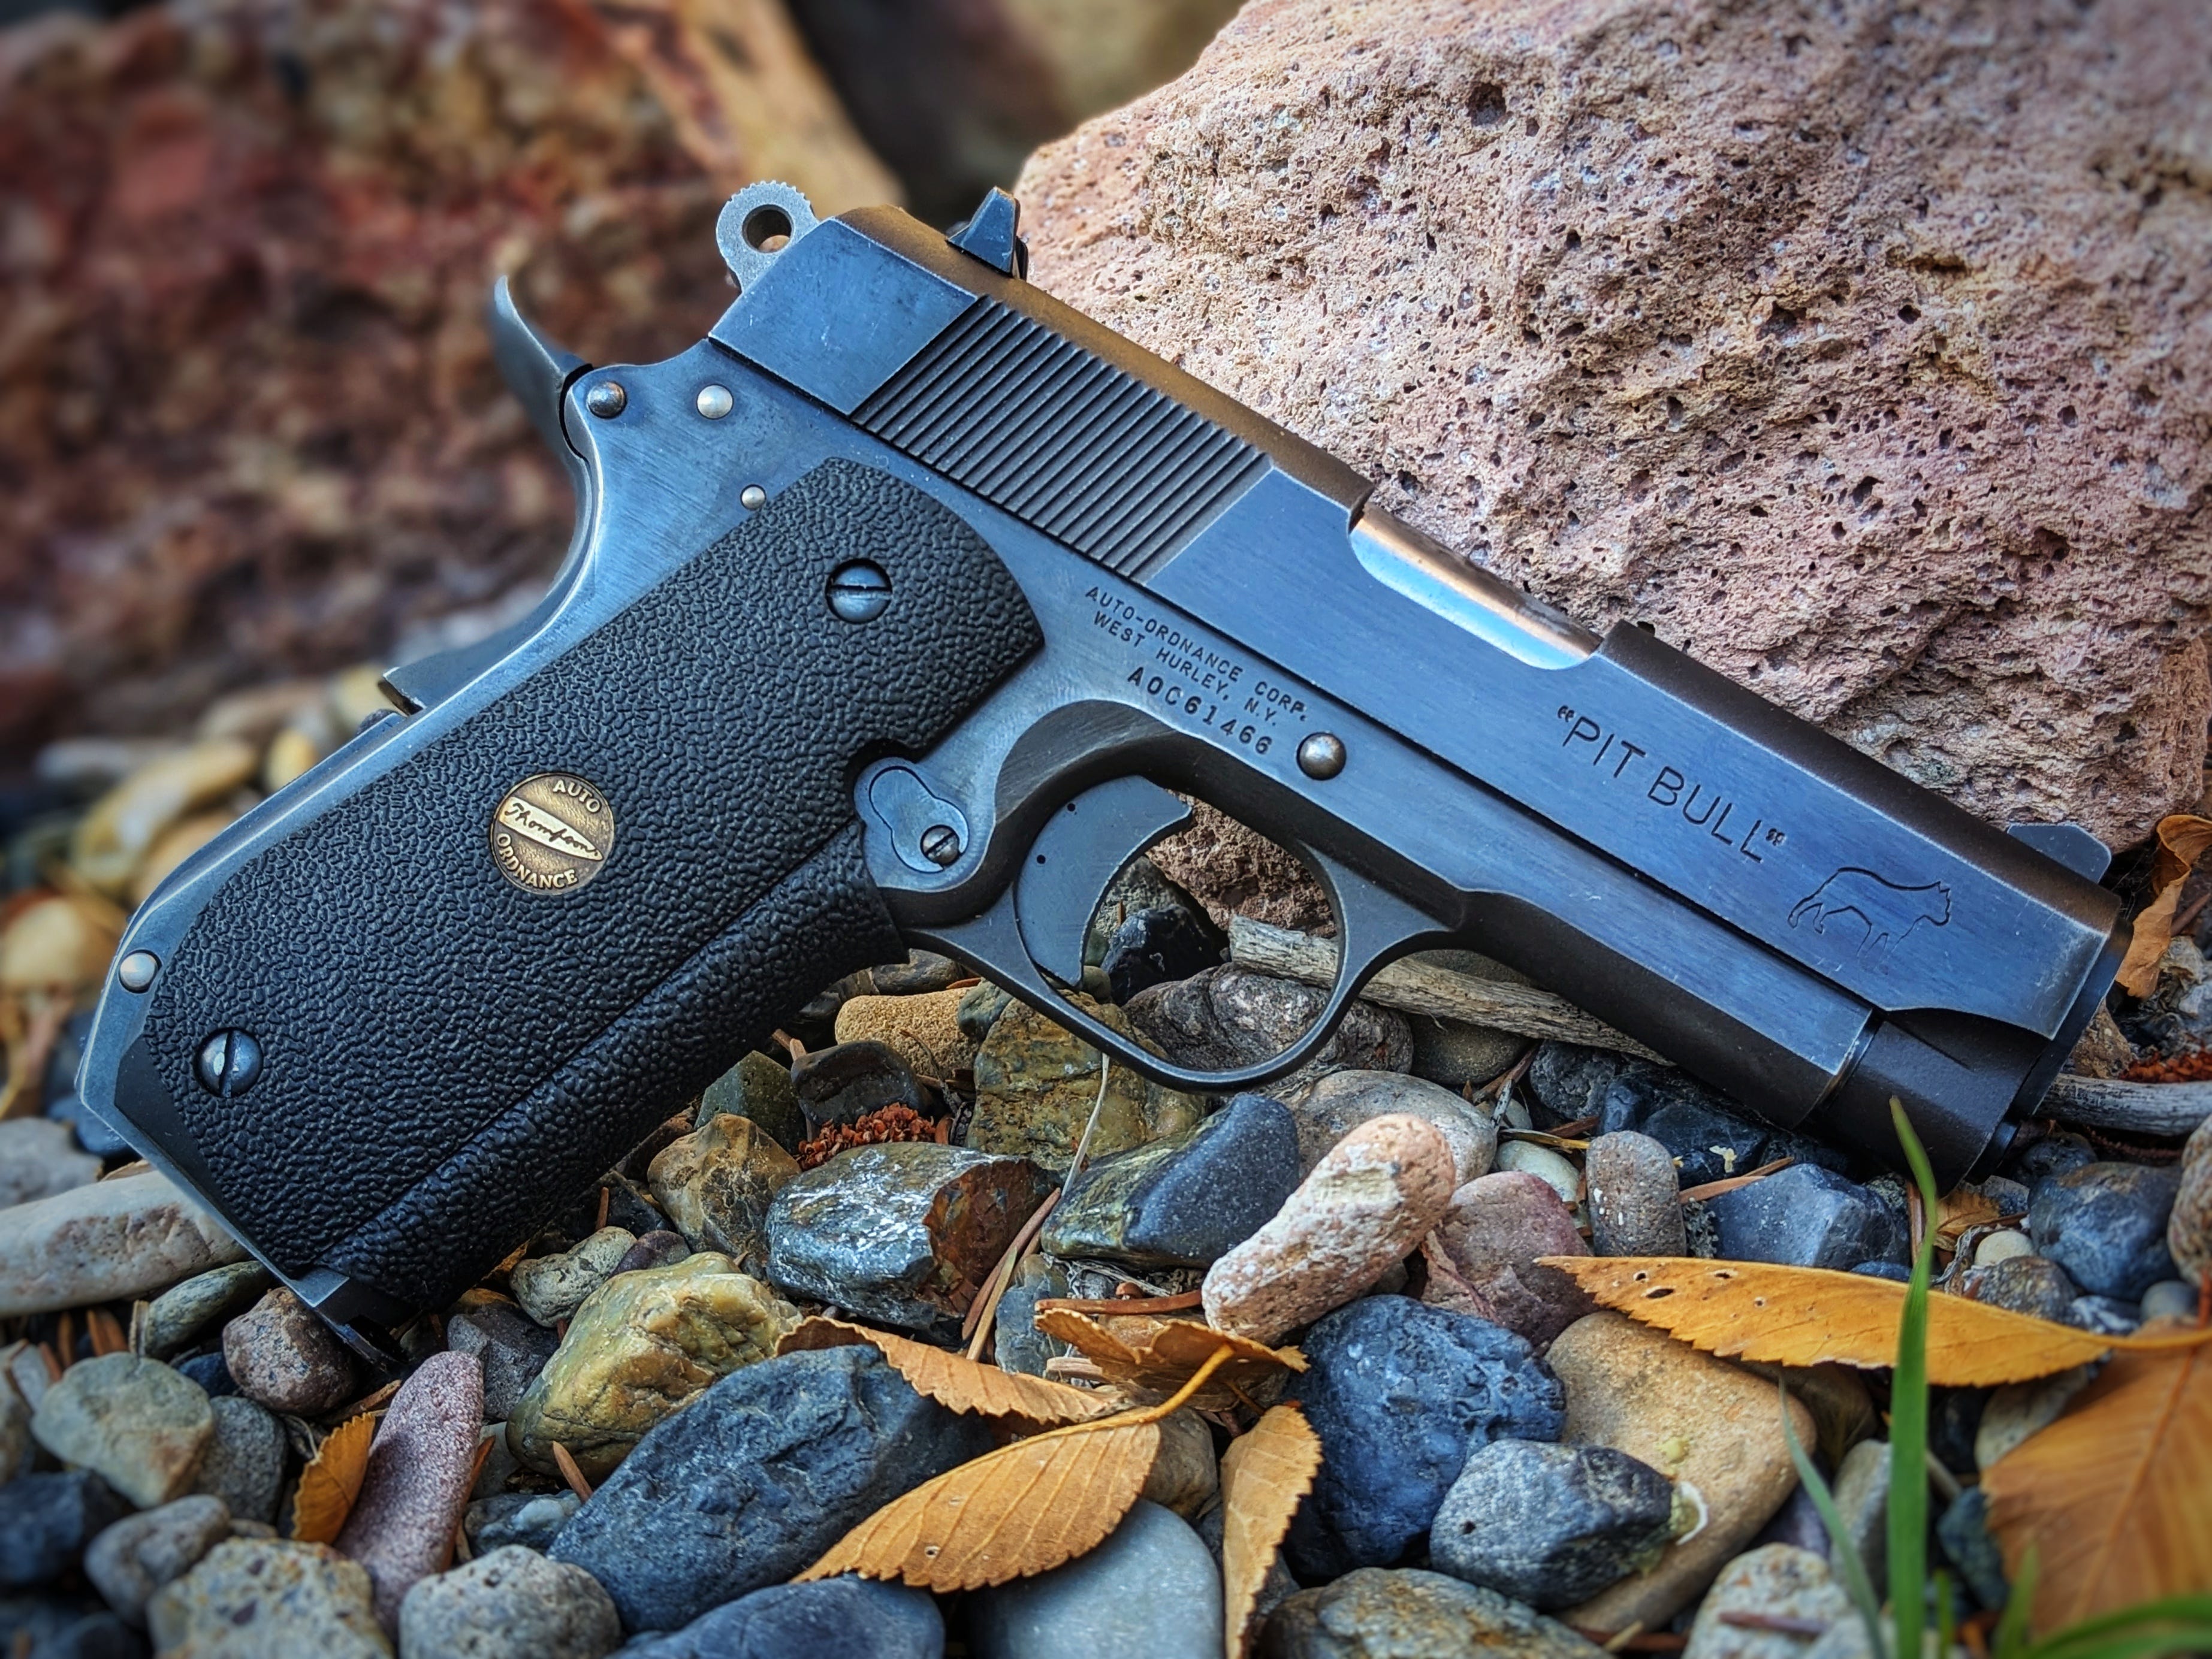
Welcome back to the second half of my 1911 series, where I take an Auto Ordnance “Pit Bull” and go over it from top to bottom in an attempt to elevate it from its legendary status as a trash gun and turn it into a reliable and concealable 1911. I will summarise the first article; if you want to read it in its entirety, you can do so HERE.
Initial shooting of the “Pit Bull” didn’t turn out as bad as I had feared; functionality was fine, accuracy, on the other hand, was nothing to write home about. A gun intended for concealed carry doesn’t have to be a tack driver. Statistics show that most deadly encounters occur at under 7 yards, with the majority at touching distance. The “Pit Bull” was averaging about a 10-inch group at 25 yards. This would certainly do the job in a defensive situation, but it is not the mark of a quality gun. 1911s are so much more capable of good accuracy. There was also the problem of the weapon daintily depositing every spent .45 ACP casing directly onto the top of my head. After doing what I could in the shop to solve these problems, I headed back to the range to see if I had made any headway.
At the range.
So many of the complaints about the “Pit Bull” were about reliability issues. I still found no problems with reliability. I shot another 20 or so rounds and did have one failure to feed. While that is concerning, I wouldn’t go so far as to say it’s an unreliable gun, yet.
Now, on to the topic of accuracy: as you remember, I tightened up the slide on the frame rails and the barrel bushing, and crowned the barrel. I couldn’t have been more pleased with the results. Average group sizes with cheap Remington UMC 230g FMJs ranged from 2 to 3 inches at 25 yards. It’s still not a target gun, but that is a result I am happy to live with. Indeed, with higher-quality ammo or good handloads, I could tighten up these groups even more.
My final point of contention with the gun was the casing ejection. To solve the problem of my spent brass party trick, I filed a slight chamfer onto the ejector. The modification worked; the brass no longer hit me in the head, but it wasn’t a complete success. The shell ejection was very erratic, with empty cases flying everywhere. They were clearing the gun and me, which was good, but I’m a handloader and like to collect my brass, so I was going to have to go back to the drawing board on that one.
All in all, I was very pleased with how the “Pit Bull” performed. I felt like it had turned into a reliable sidearm that was easily capable of protecting me should I need it to. Yet, I knew it could be better. Maybe if I made just a few more modifications, I would have something really special.
Back to the shop… again.
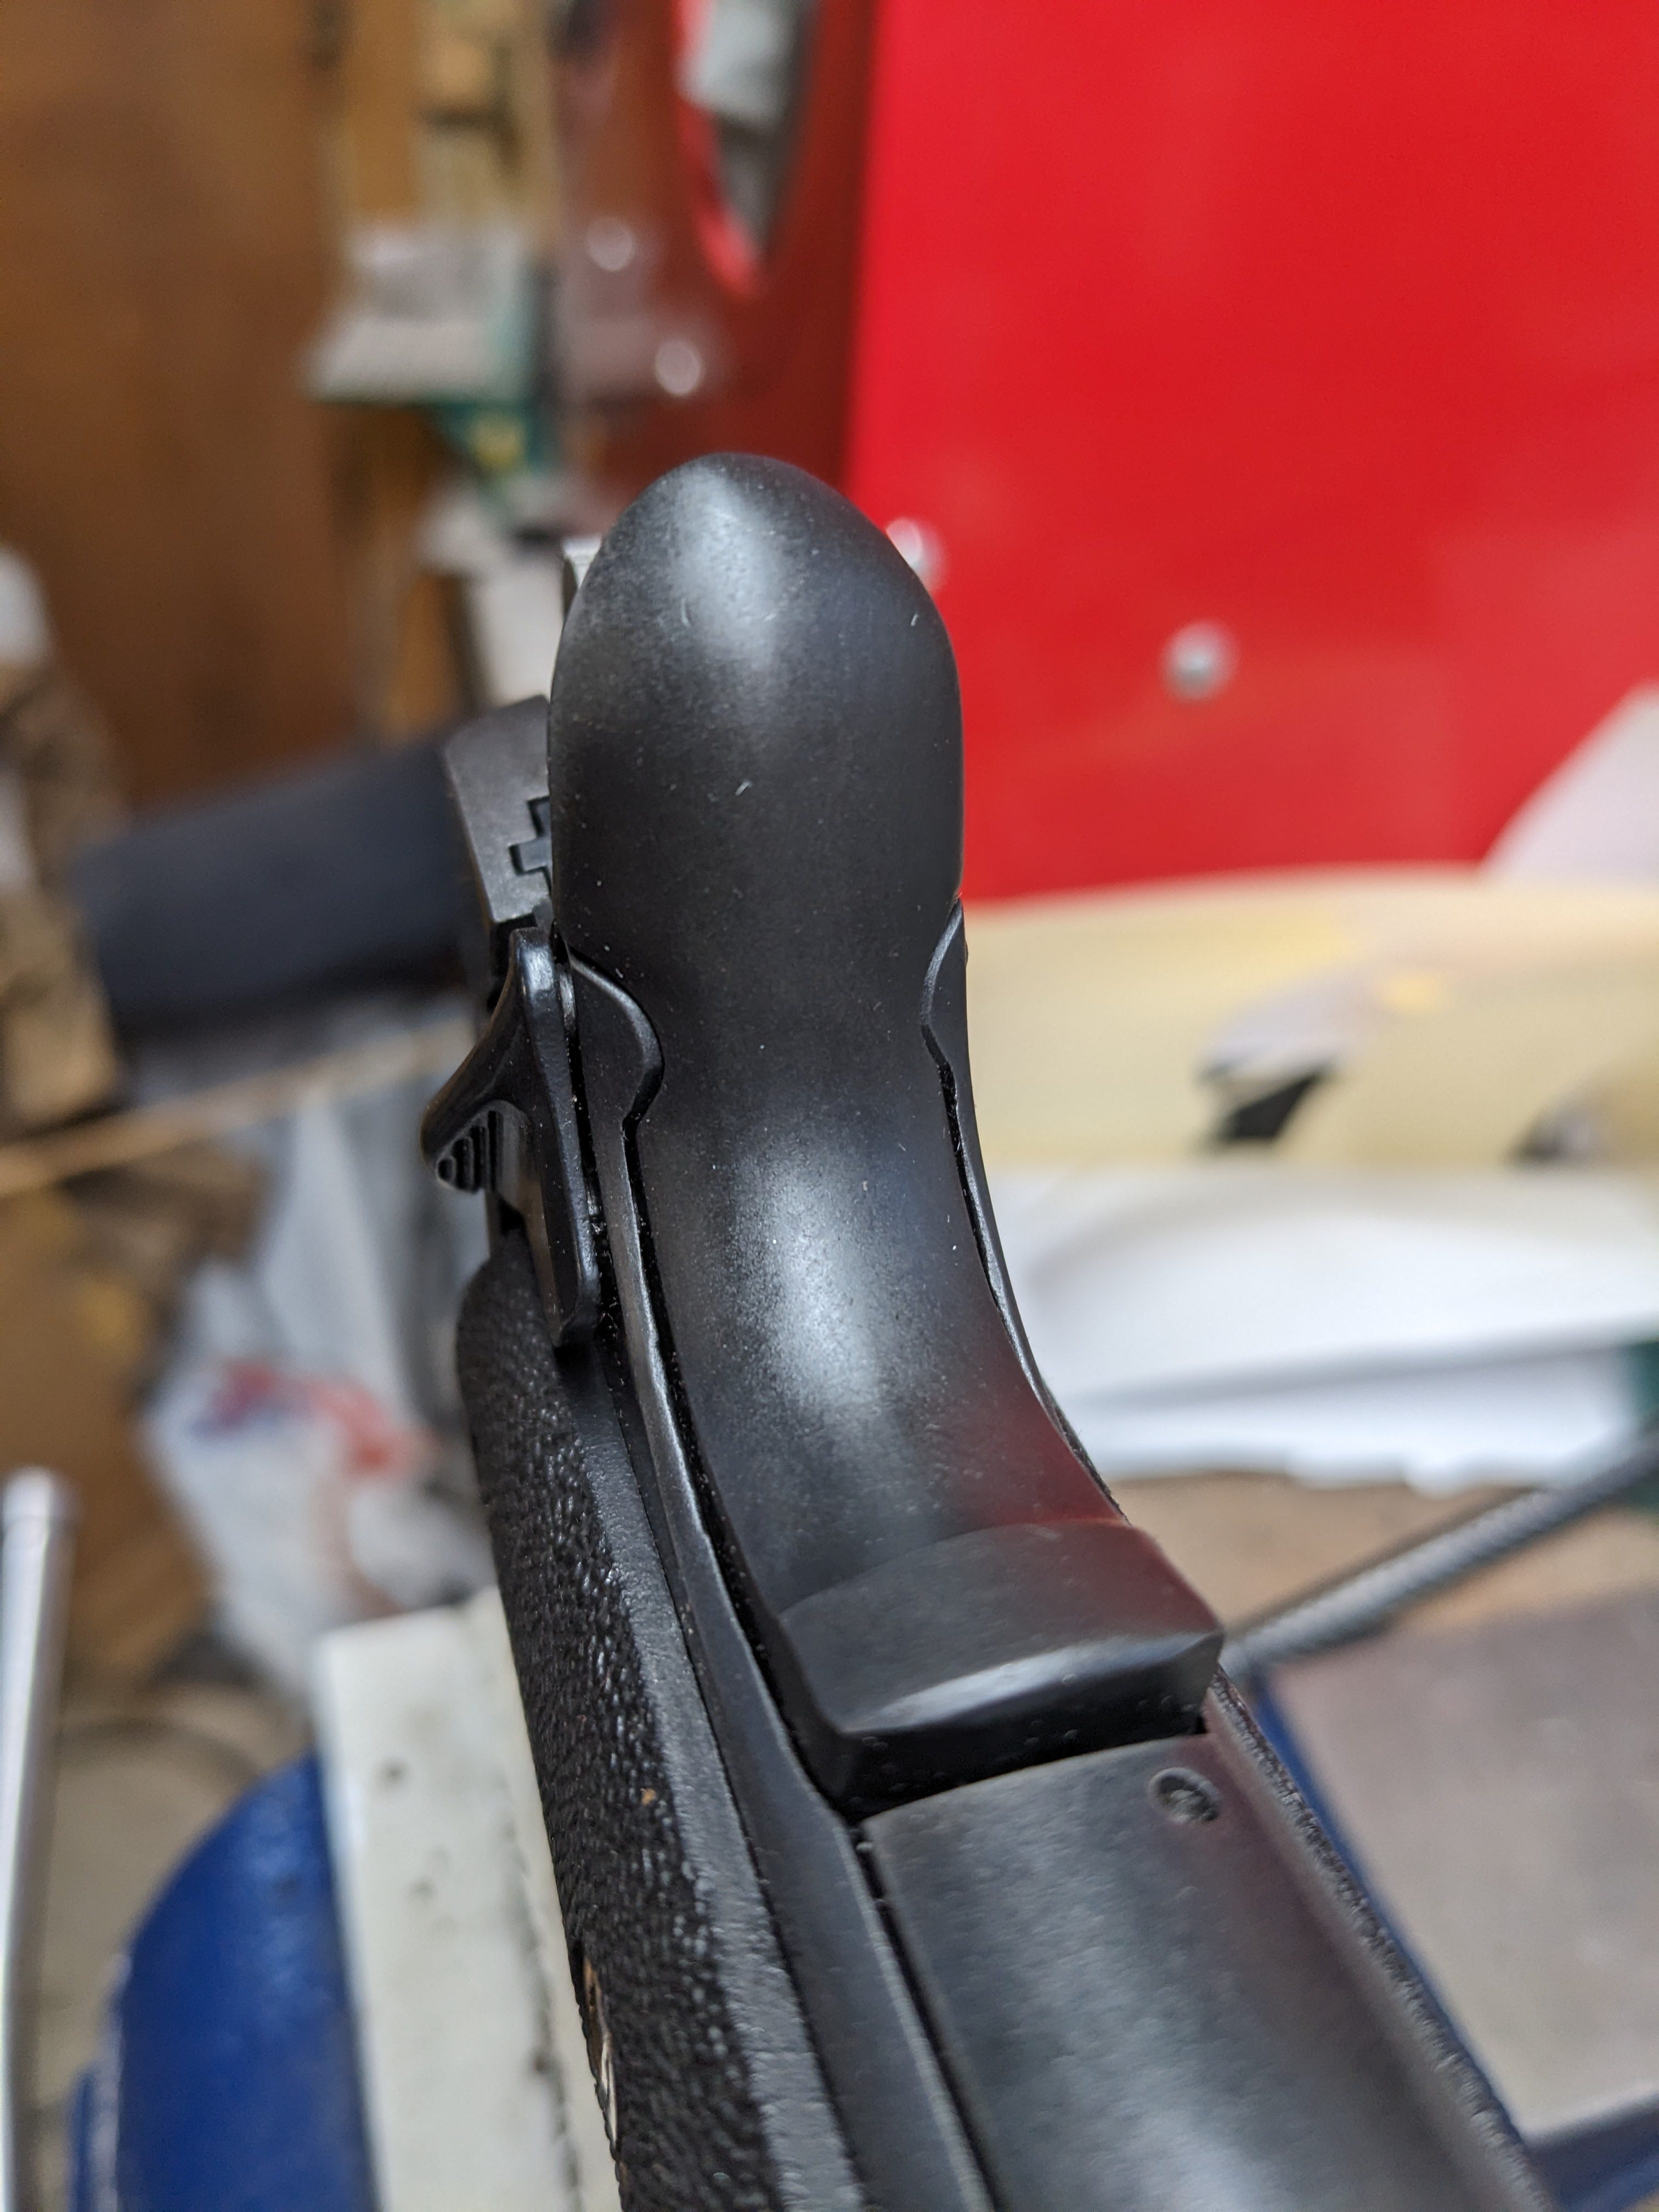
While I achieved all my functionality goals on the “Pit Bull,” I felt like I could take the gun to the next level. This gun still had the standard government-style 1911 grip safety. It functioned fine, but I thought a beavertail-style grip safety would increase comfort and allow me to get a higher grip on the gun, improving recoil control. A beavertail also has the added benefit of shrouding the hammer on a cocked gun, reducing the chance of snagging when drawing the weapon from under clothes. A Wilson Combat high ride concealment beaver tail was ordered. Changing from a government-style frame to one that accepts a beaver tail requires some significant fitting and is not for the faint of heart. They do make jigs to help with the shaping, but I just did it by hand. The finished product came out well. My fitment wasn’t perfect, and someone who works on 1911s every day could have done a better job, but I’m happy with it.
My next modification was a new ejector; while the modifications I made to the first one solved the problem of cases hitting my head, it was still very erratic, throwing shells everywhere. Not convenient for someone who picks up their brass, so I installed a new extended ejector to solve that problem.
My last and final modification was adding a Wilson Combat full-length guide rod. I mentioned it in the first part of this article. For Officer size 1911s, full-length guide rods have become the standard and for good reason. While the original stubby guide rod and double spring system worked for me, I knew it was only a matter of time before problems would arise. A full-length guide rod with a good spring smooths the action considerably and extends the gun’s overall spring life.
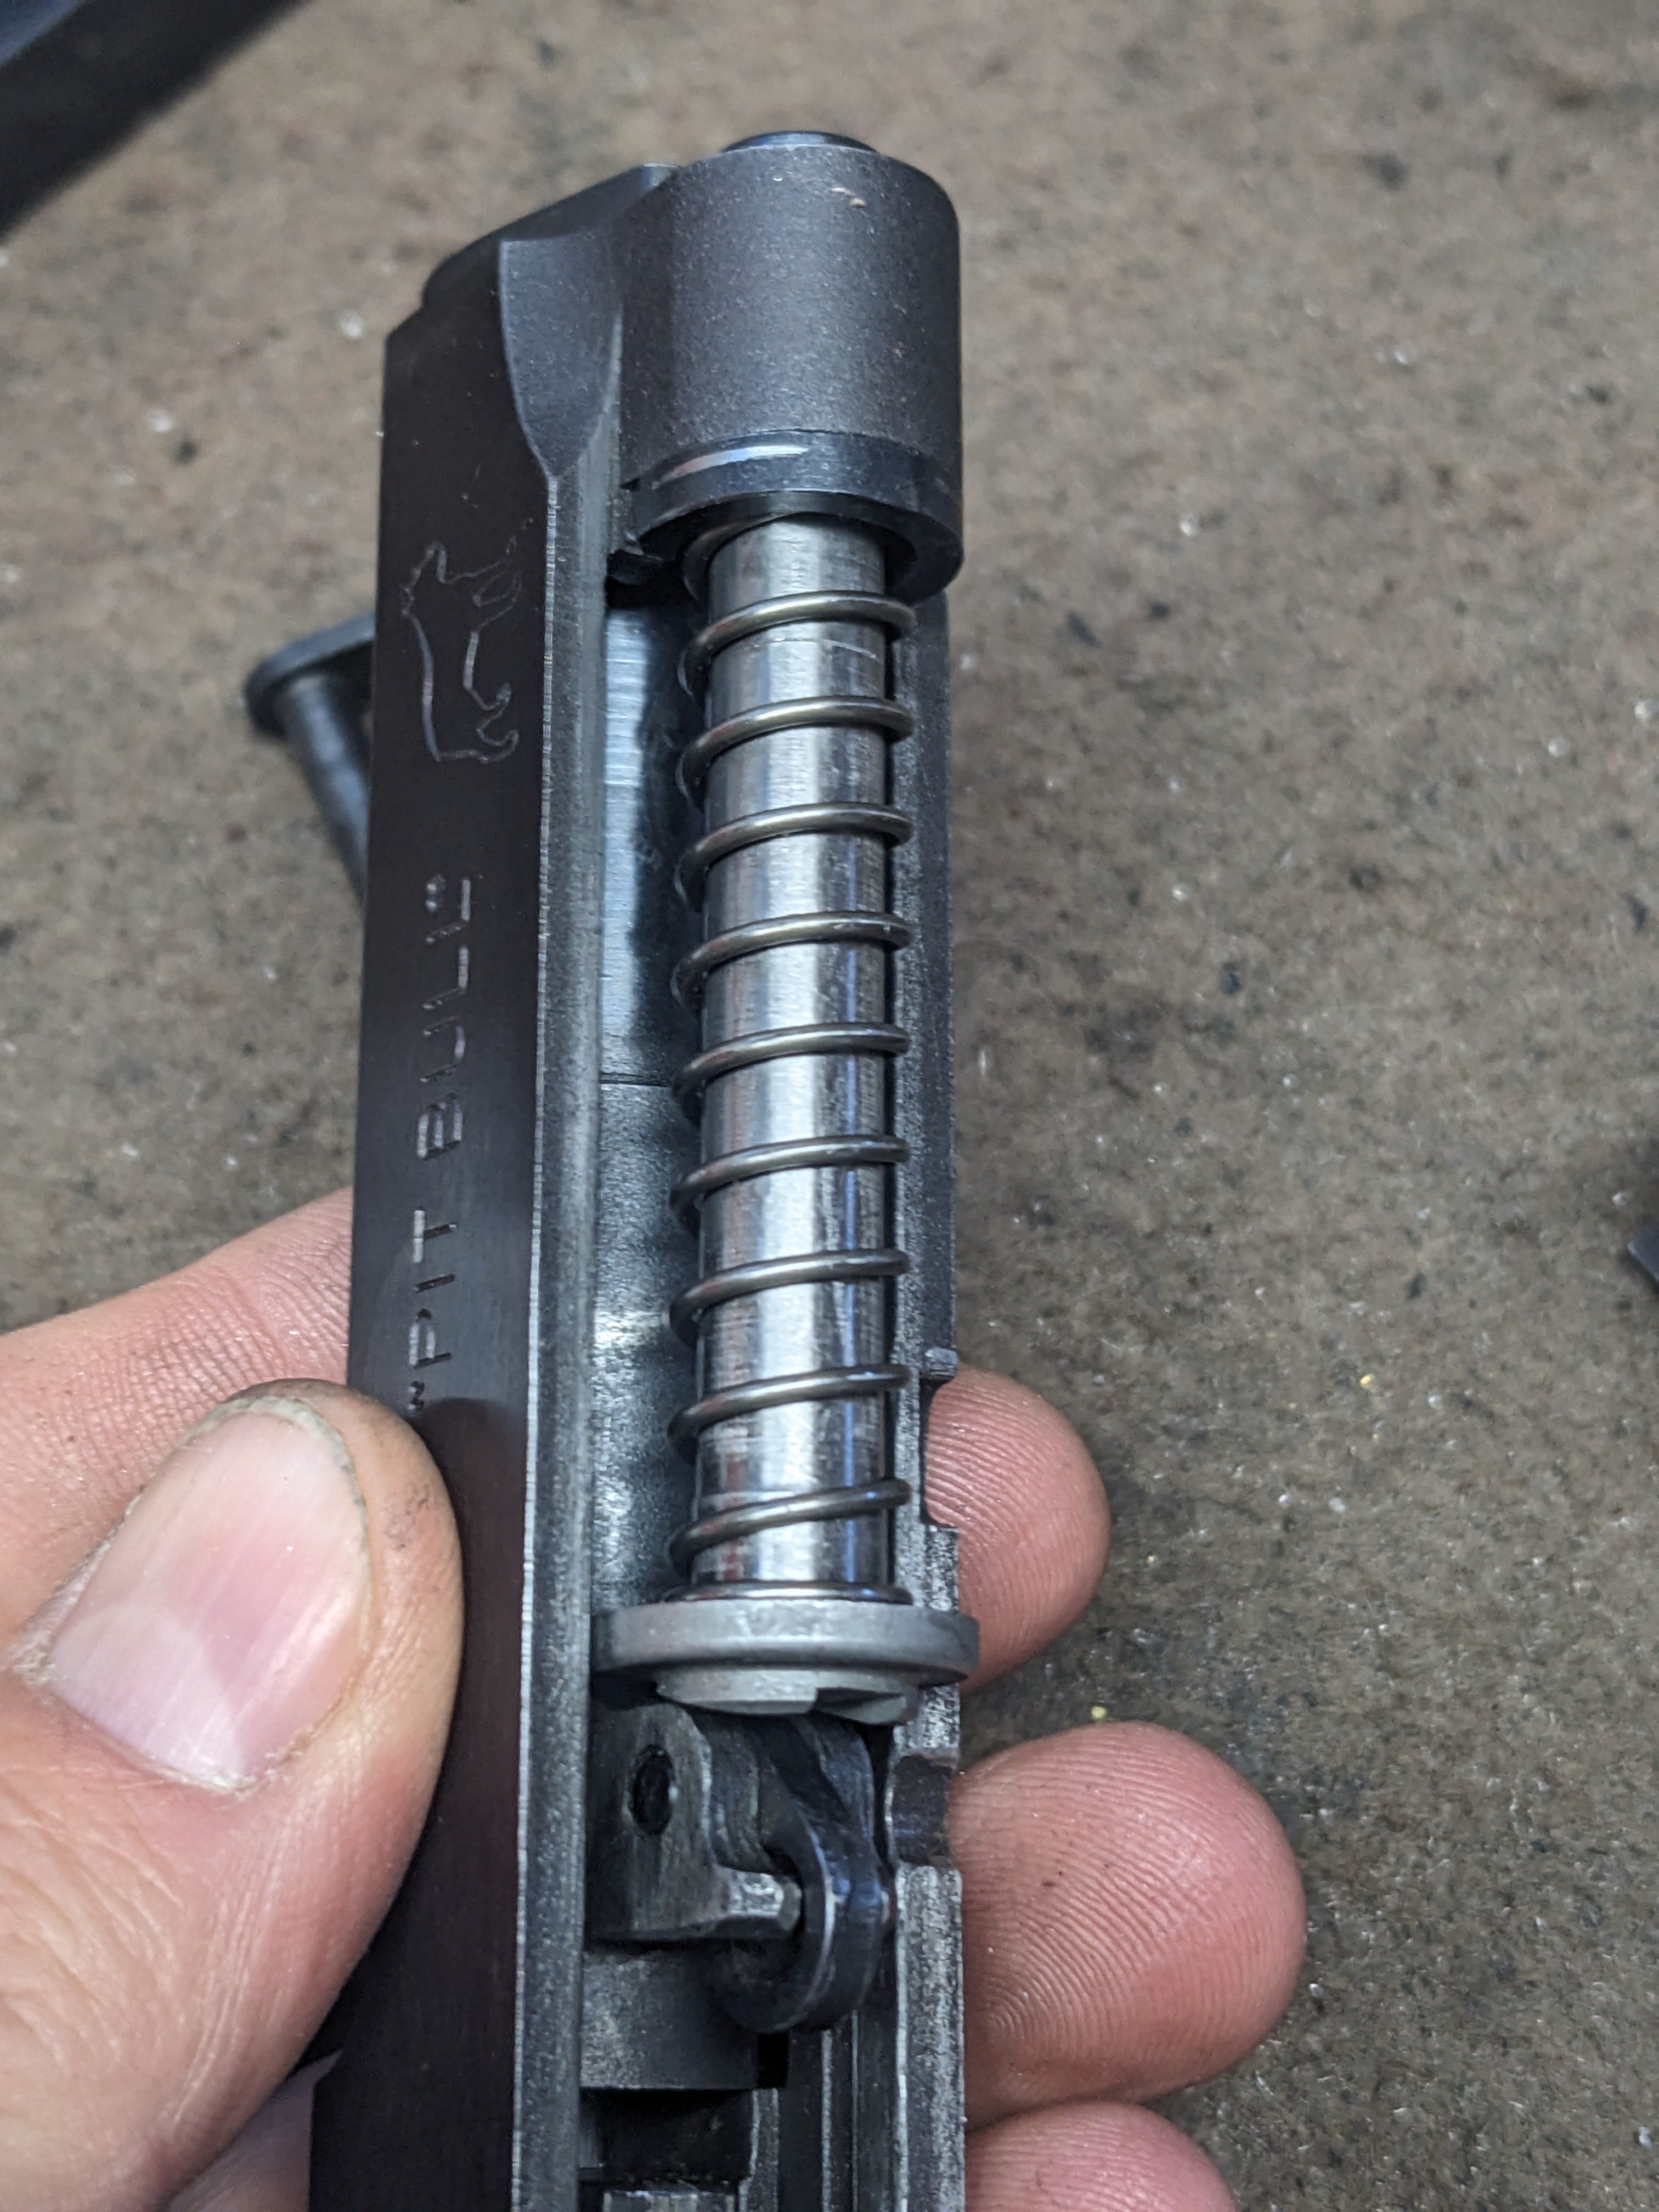
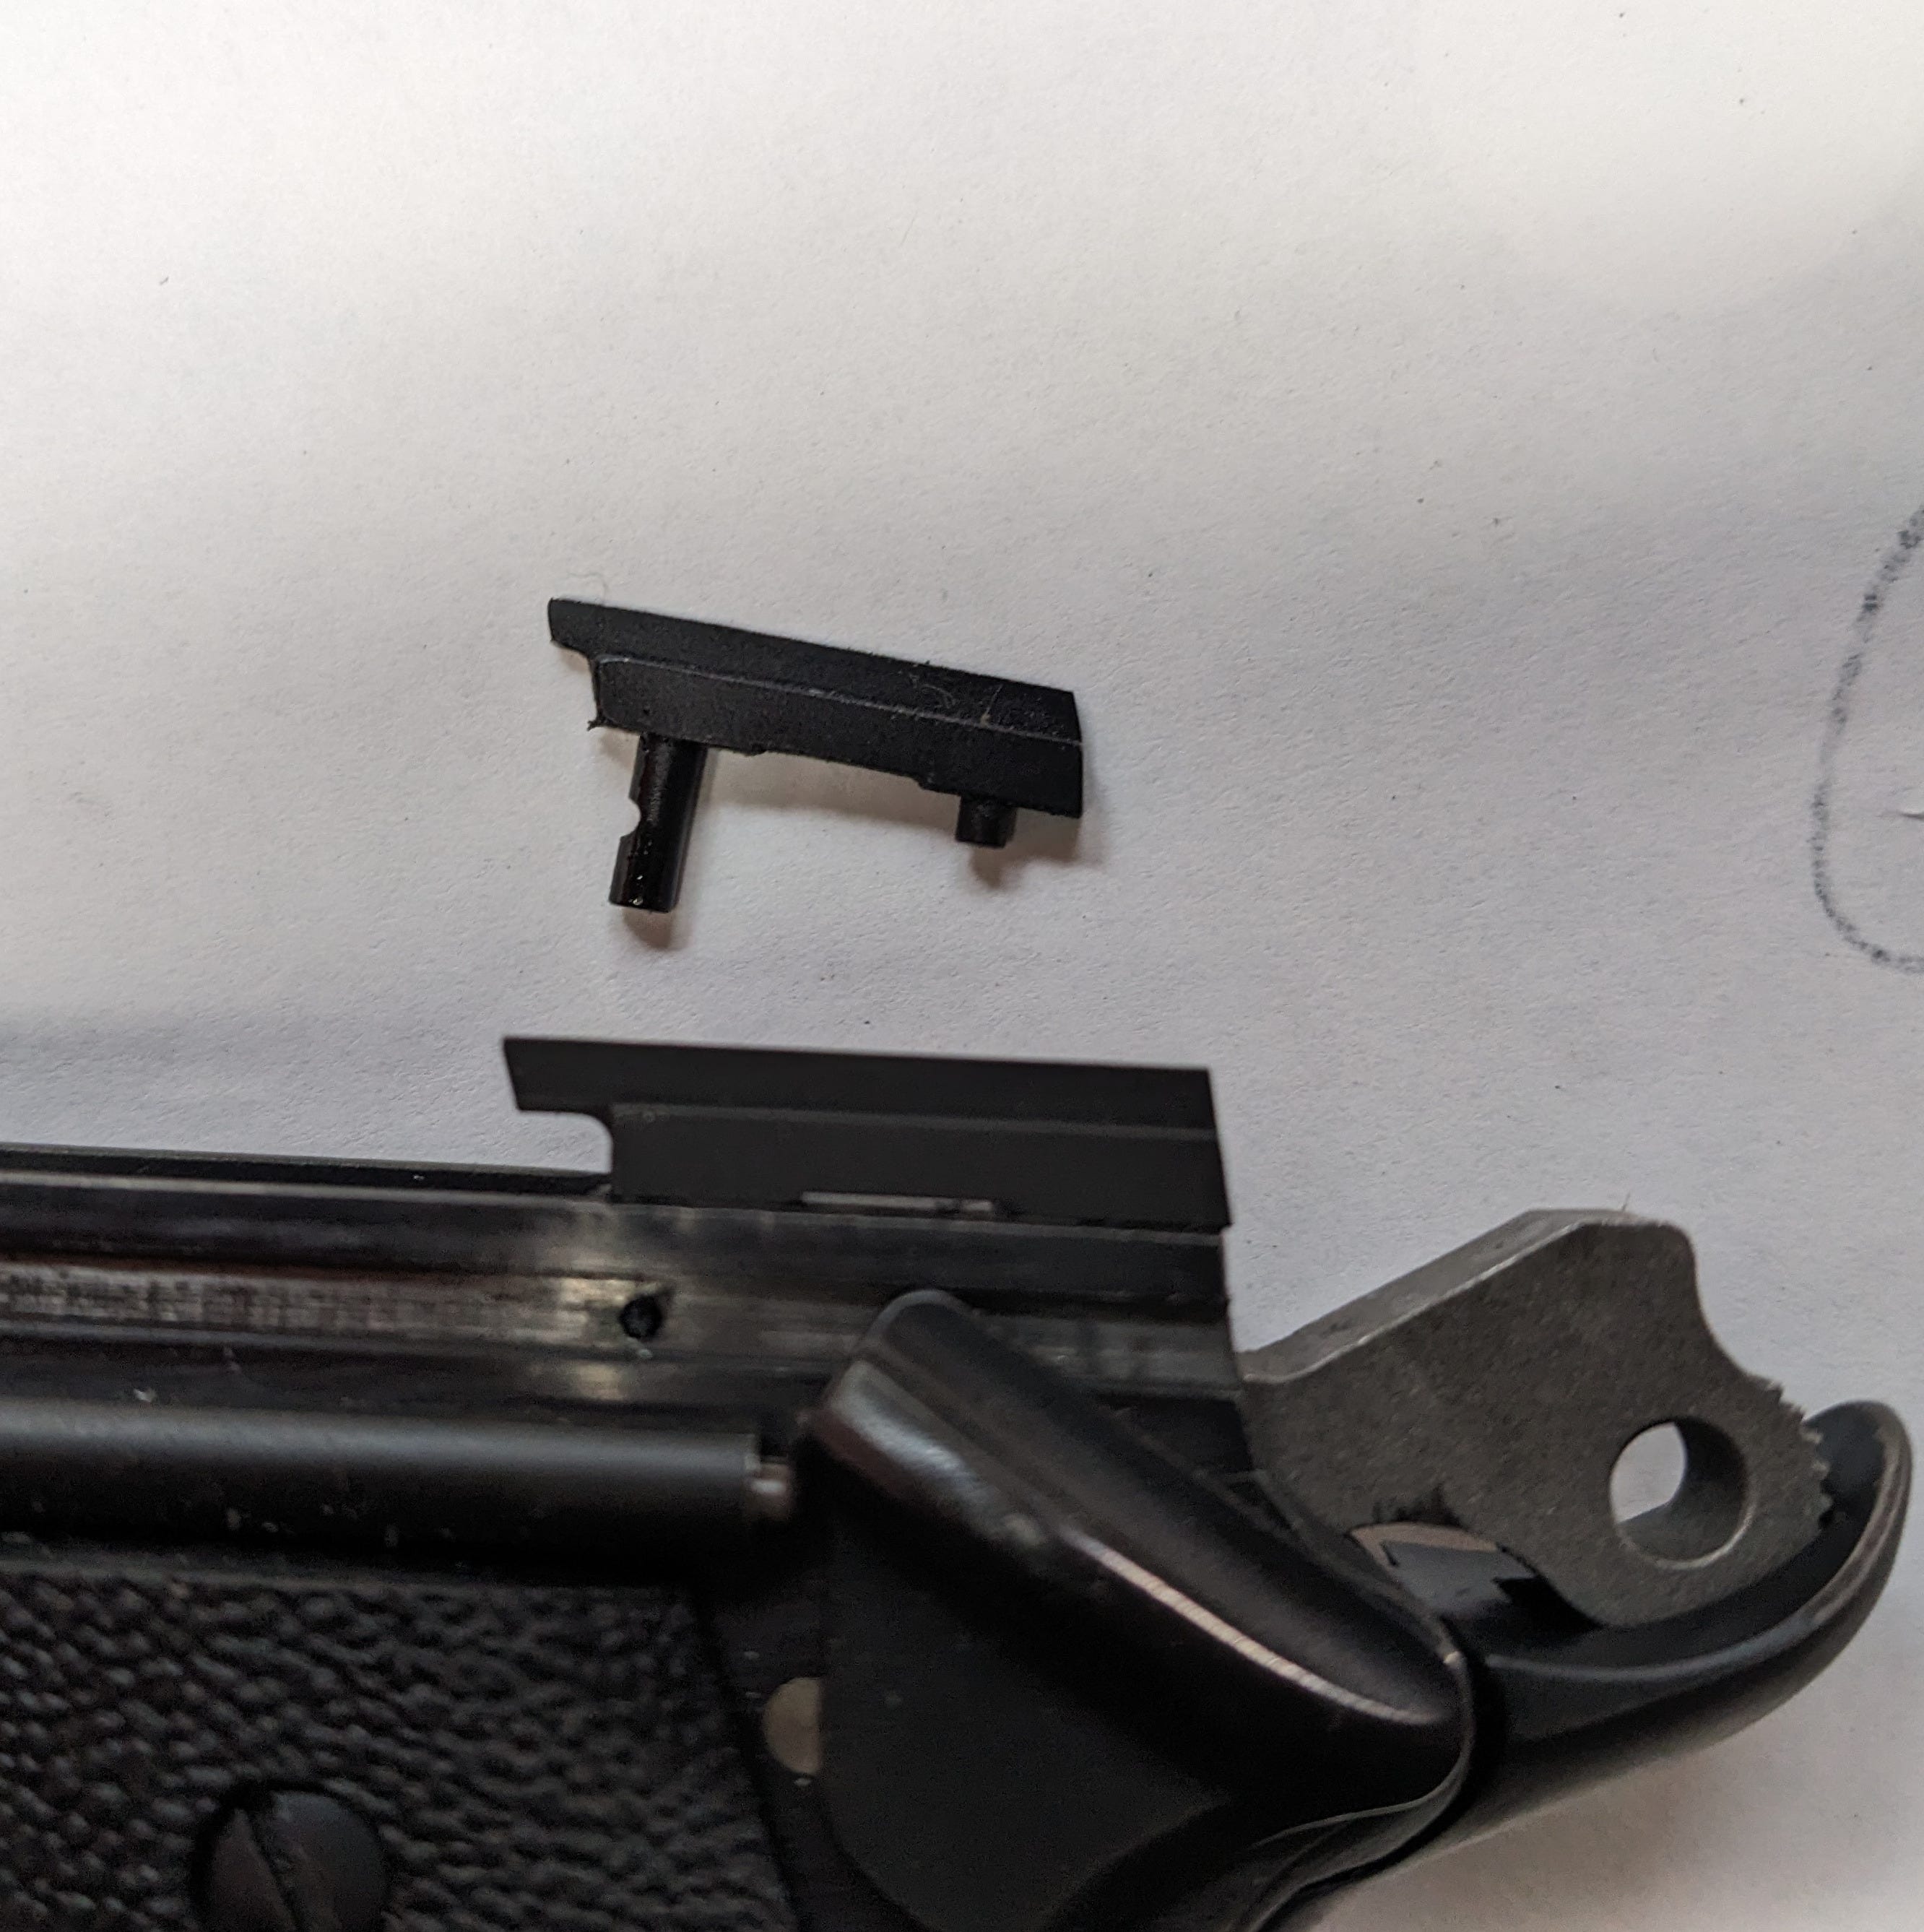
It’s a smart move for increased reliability, as I mentioned in the first article, though, this 1911’s parts weren’t exactly standard. So rather than using the guide rod spring cap Wilson provided, I had to modify the one that came with the gun.
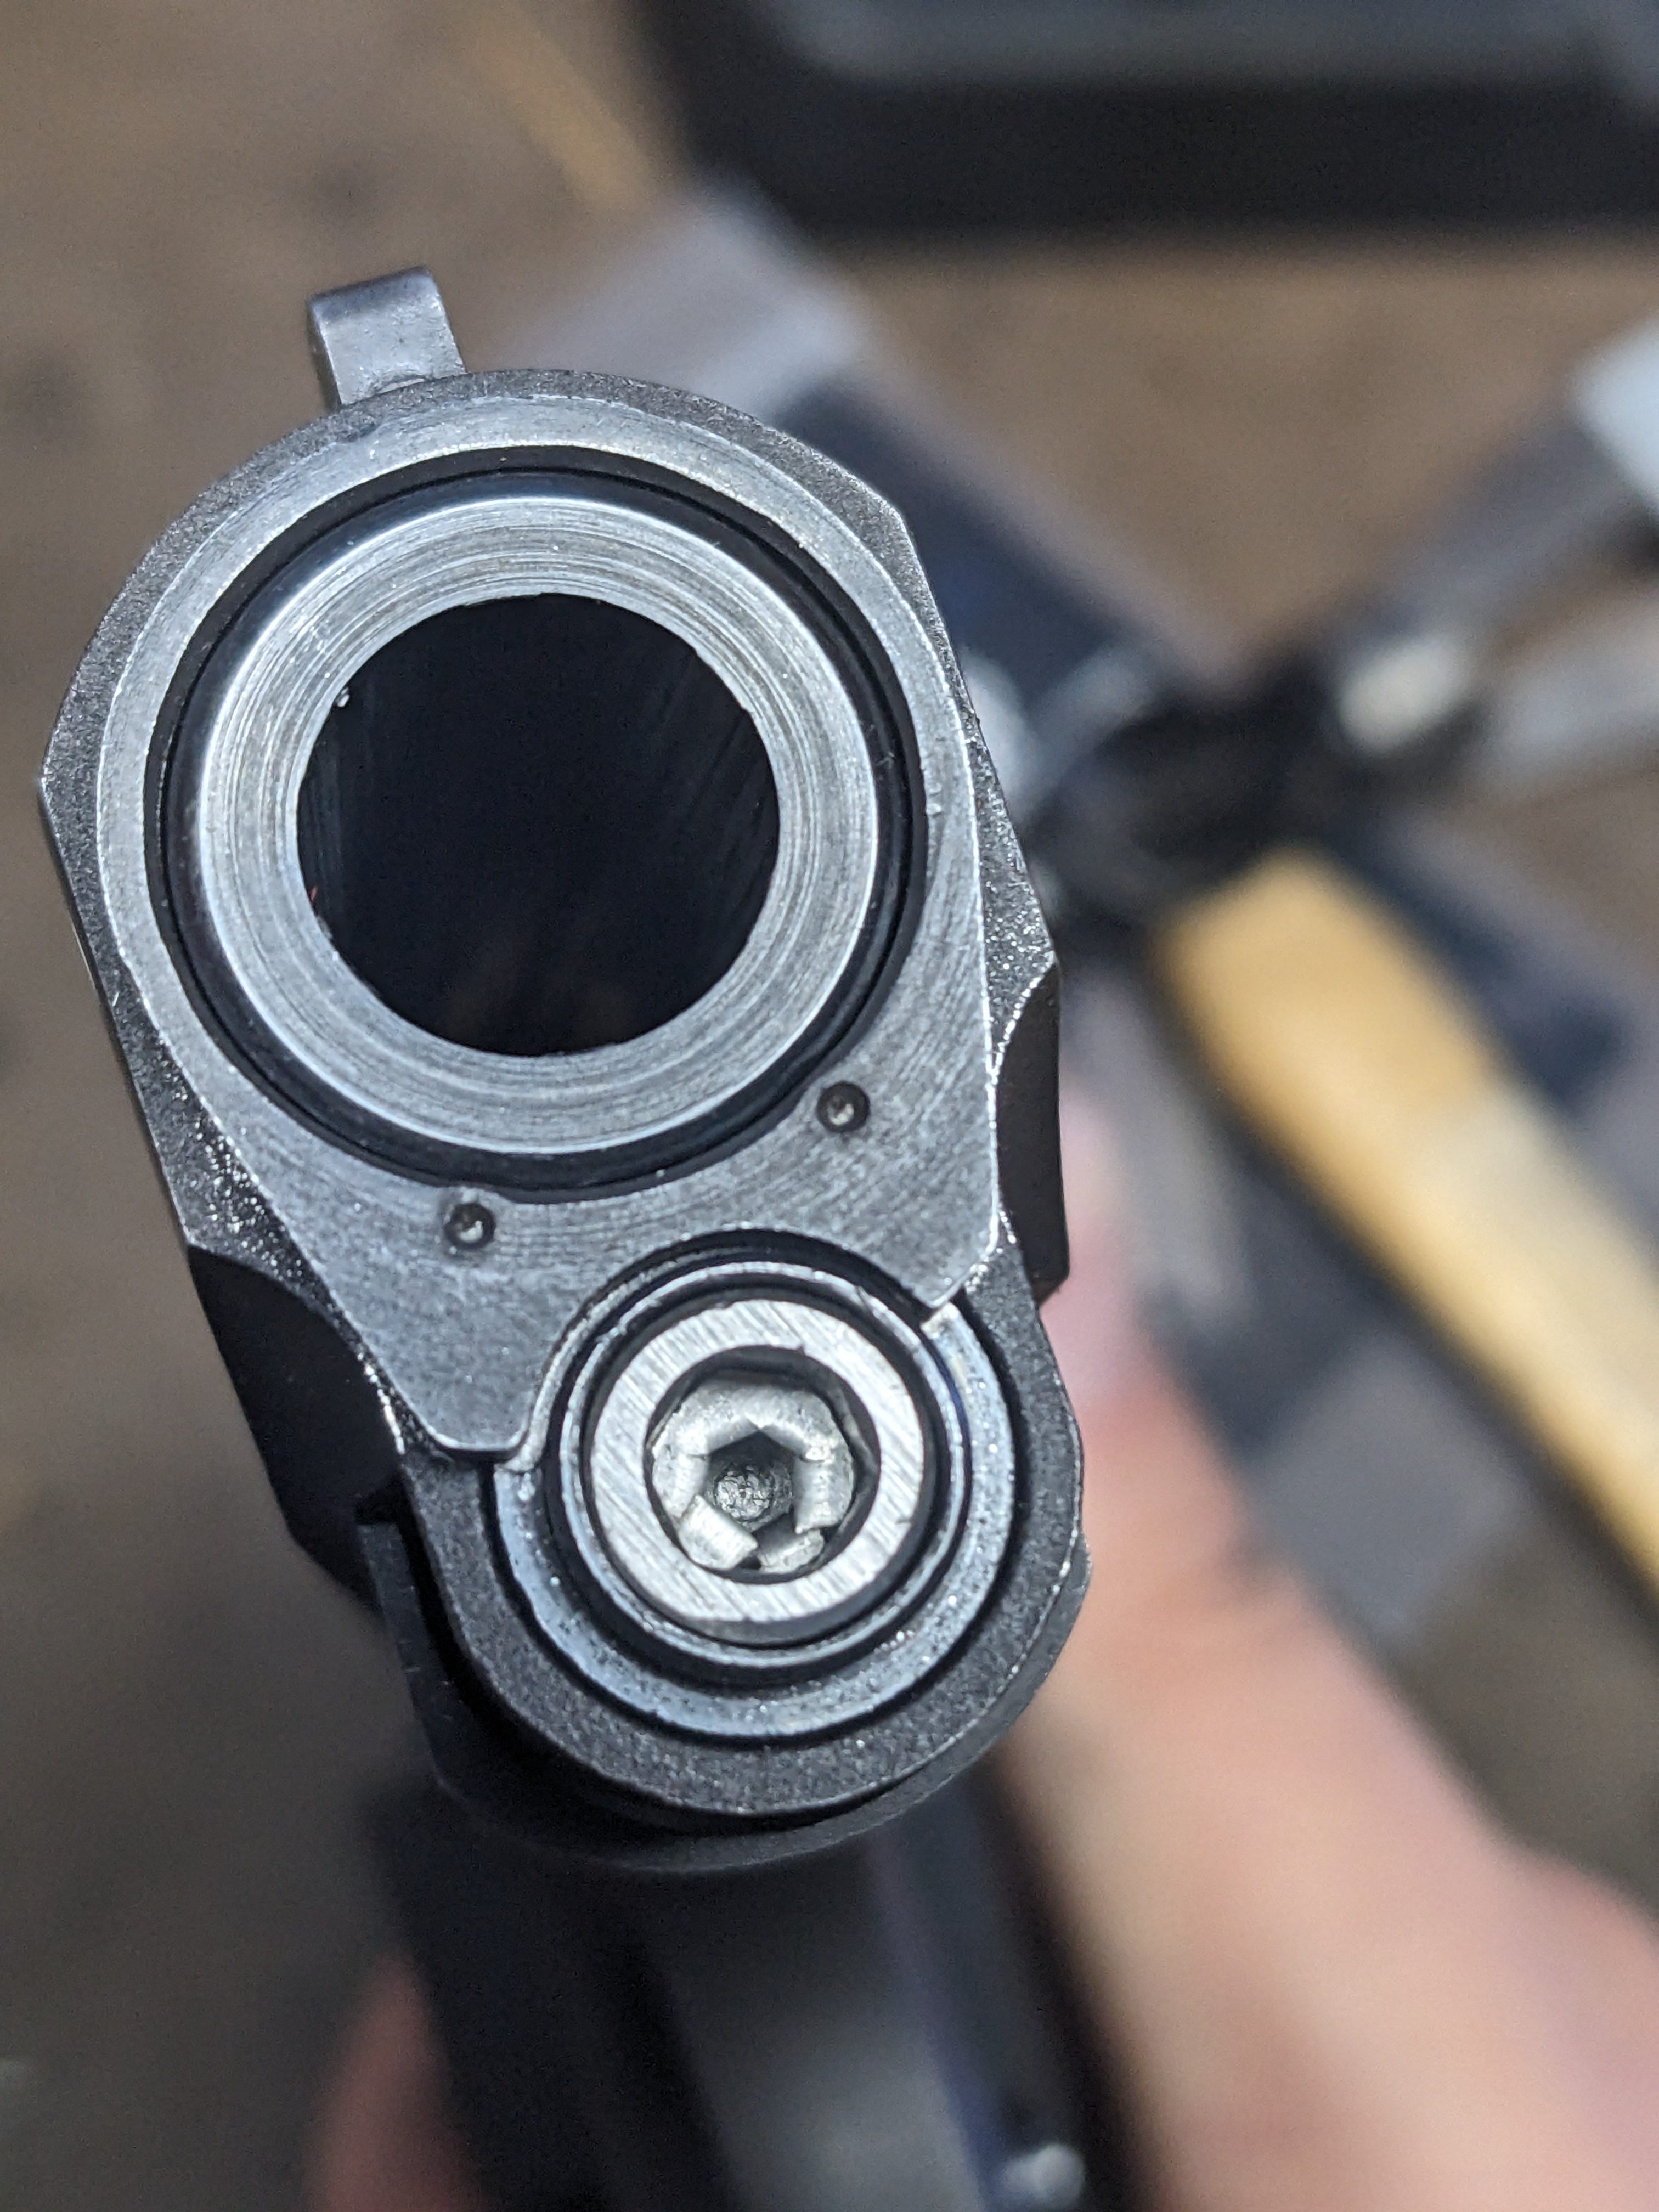
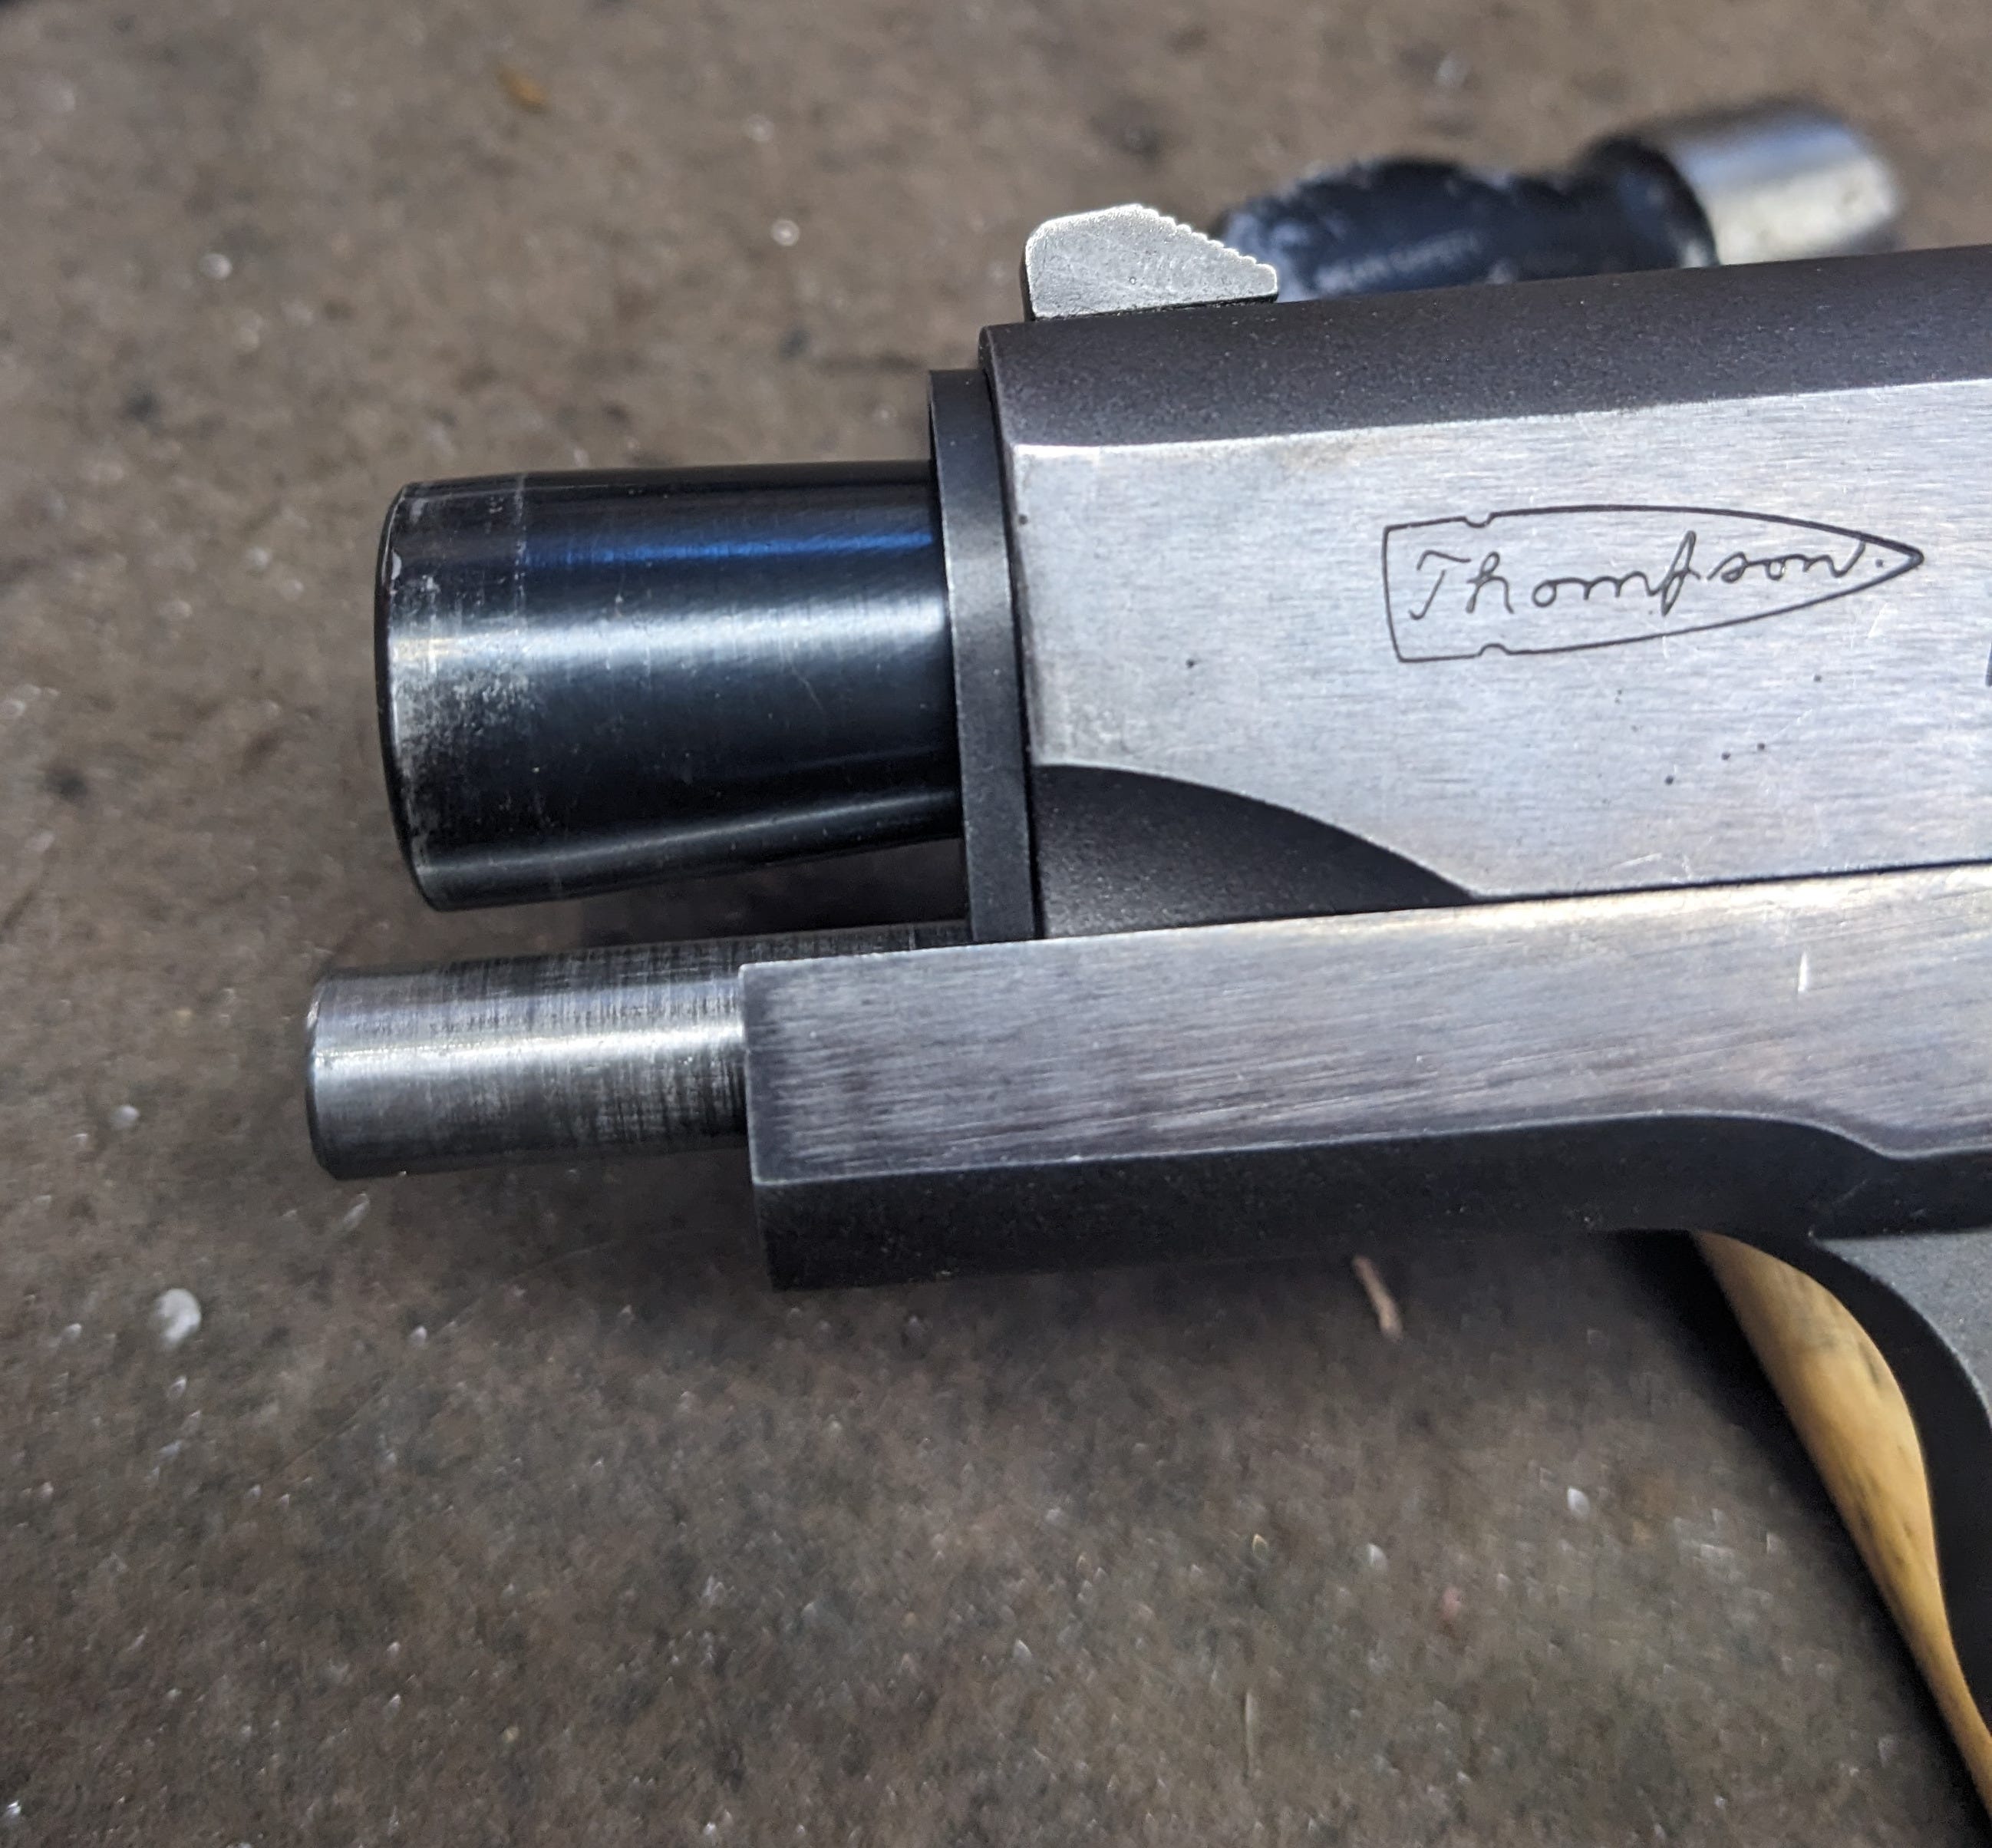
This turned out to be not a big deal; all I had to do was drill a hole in the front of it for the guide rod to poke through. Luckily, there was just enough meat there to do that. After installation, hand-cycling the gun showed a significant improvement in slide smoothness. Undoubtedly, this is because there aren’t two monster springs in there grinding against each other anymore.
Back to the range again.
While I was happy with range trip number one, I was ecstatic with range trip number two. The “Pit Bull” performed flawlessly. The new beaver tail allowed me to get a higher grip on the gun, improving recoil mitigation and comfort when shooting. The new ejector worked like a champ, daintily placing my brass about two feet away from my right-hand side in a nice little pile. My last modification, the full-length guide rod, also performed perfectly. The smoothness of the action and even the feel of the recoil impulse had improved significantly. I was on the fence about adding the guide rod, but after shooting it, this is honestly the most significant upgrade in how the gun feels and runs. The beaver tail certainly contributed as well. Recoil was much more manageable, and fast shooting came much more easily than before.
This pup needs a doghouse.
Now that I was pleased with how well the gun was running, I only needed one thing to complete the project: a holster. Everyone reading this knows I’m a revolver guy, and that’s not going to change anytime soon, but when I first picked up this gun at my local pawn shop, I knew I wanted it as a concealment option. I do love 1911s, and other than a short stint with a Colt New Agent (one of those guns I wish I had never sold), I have never carried a 1911. Well, that’s going to change now. I will certainly stick with my J-frame revolvers for summer, but in winter, it would be nice to have something with a little more “personality” to pack around.
I’m not much of a leatherworker, but I can make a functional home for my handguns when needed to. So, off to the design board I went. I have had this idea in my mind for a concealment holster for a long time. Rather than traditional spring clips on the front of the holster to attach it to the belt, I thought it would be neat to just have a flat front with a snap laid in, and a corresponding snap on the belt to affix it. This would be the perfect gun to try this on. After getting the holster built, I realized the snap idea wasn’t so great. It worked as I intended, but the holster would unsnap when drawing the gun. Possibly, a larger or more industrial snap would not have this problem. I know I have readers who work in the leather industry. Maybe they can chime in in the comments, and let me know if my idea is crazy or if I just don’t have the proper hardware.
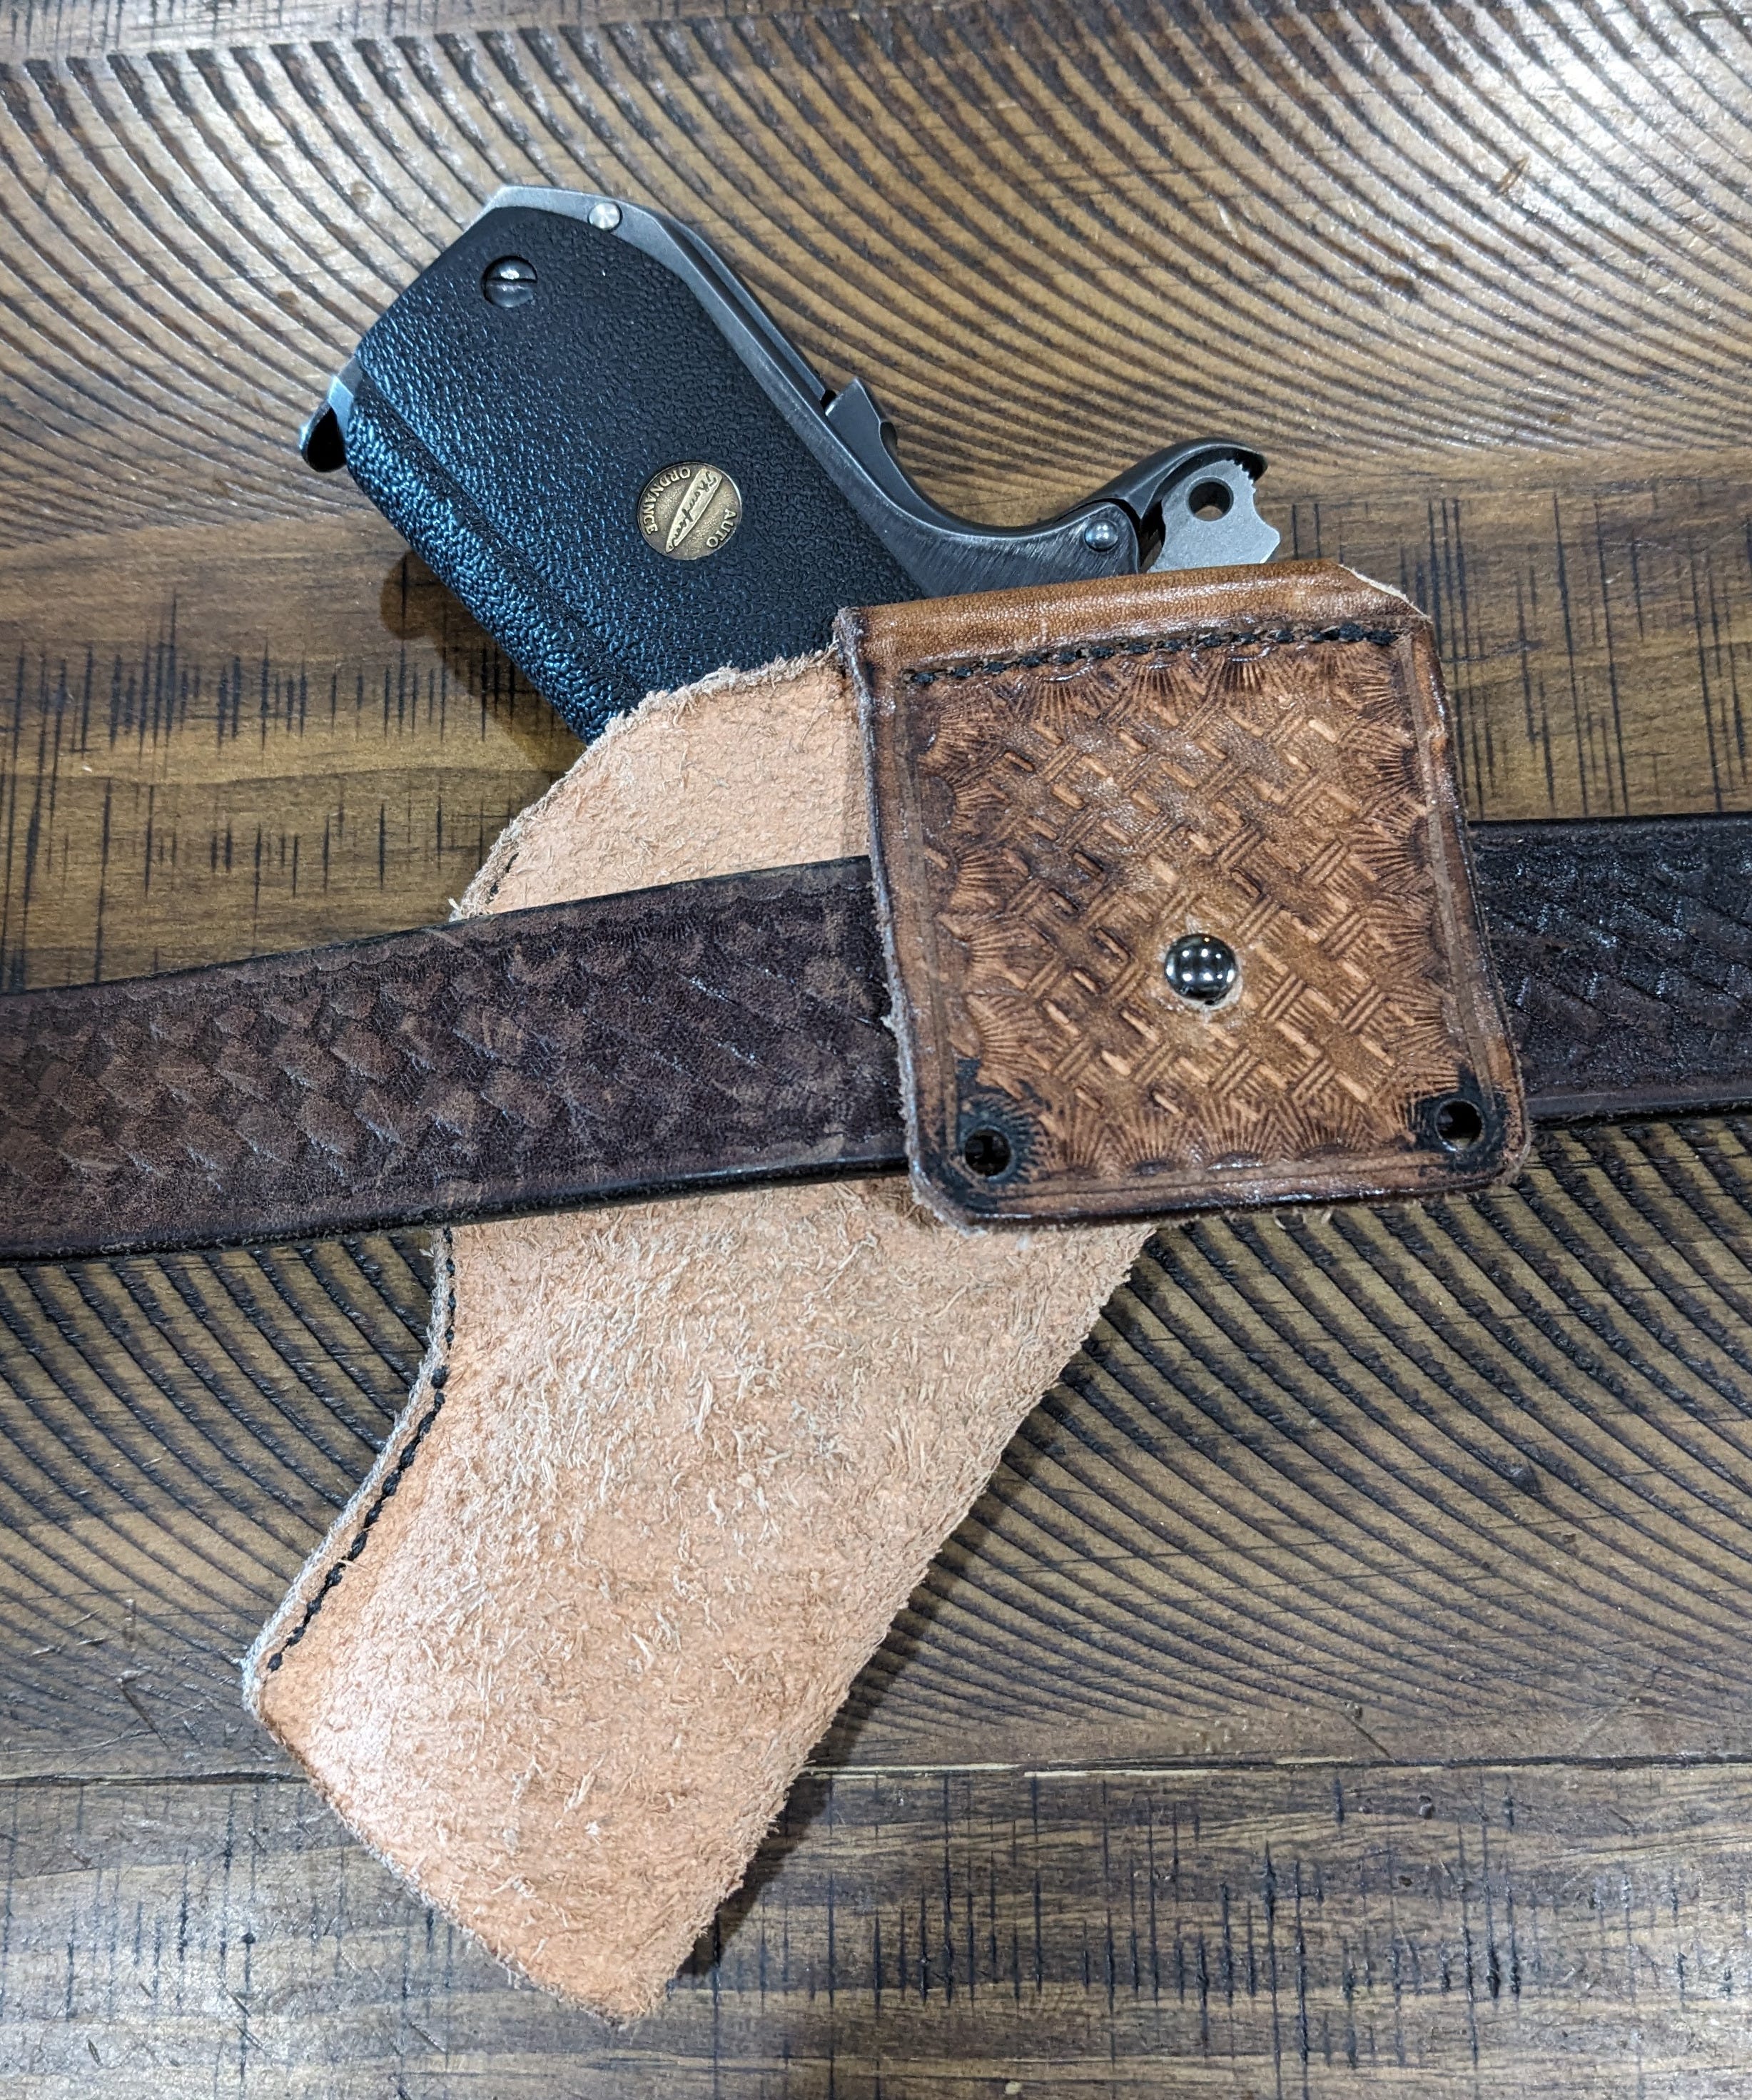
I removed the snaps and replaced them with a stud on the belt, so the holster pops onto it. This solved the problem, but leaves a metal stud sticking out on the belt when I’m not carrying this gun. The metal stud makes it difficult to put the belt on and prevents wearing any other holster in the same spot. This is a problem for me; I have more than a couple of guns and one belt. Most of my projects are a work in progress, and this holster project is no different.
Out of the dog house.
As with real dogs, a little time and care have turned this disobedient mongrel of parts into an obedient and well-behaved companion. I genuinely love taking what most would consider a pawn-shop dud and turning it into a highly functional, unique sidearm. I really enjoy the combination of a short barrel and full-size grip, especially with the new bobtail addition. Of course, changes could still be made. The madman in me knows that with a match-grade barrel and a fitted bushing, I could get this thing shooting like a laser at 25 yards, but the improvements I have chosen made it respectable, and cost me mostly time and very little money. Perhaps in the future, I will crack open my wallet and take this gun to the next level. For now, though, I will be quite happy taking this dog for its daily walk.
The 2-3 inches at 25 I mentioned in the article was from a rest. That was also using pretty cheap ammo. I would imagine I could tighten that up a bit with handloads .
EGW will make a bushing to your measurements. Those things have transformed some of mine that needed help.